How to add Celo network to MetaMask


The Celo platform acts as a global payment infrastructure for cryptocurrencies that aims to target mobile users. Celo has stuck to its goal of helping investors access financial activities globally.
In this guide, we provide step-by-step instructions on how you can add Celo to MetaMask Wallet.
What is Celo & MetaMask?
Celo is a blockchain ecosystem focused on increasing cryptocurrency adoption among smartphone users. It hopes to introduce the world’s billions of smartphone owners, including those without banking access, to transacting in cryptocurrency by using phone numbers as public keys.
Celo can also support the development of dApps on its blockchain. Thus far, these dapps can allow anyone to contribute to a community’s universal basic income scheme, as well as a crowdfunding platform for social causes. Celo operates two native tokens: CELO, a governance asset for voting on the protocol, and Celo Dollars (cUSD), a stablecoin parallel to the value of the US dollar.
MetaMask on the other hand is one of the most widely-used Wallets. You can send, receive, and manage tokens and cryptocurrencies from Ethereum, Binance Smart Chain, and other blockchains. With MetaMask, you can store NFTs, crypto art, and other crypto collectibles. Its browser extension is compatible with Chrome, Firefox, Edge, and Brave. Adding Celo to MetaMask provides users access to the Celo dApps.
Step 1: Install MetaMask Extension on Chrome
This step is only for those who don't have MetaMask installed in your browser. For the purpose of this guide, we are using Chrome browser as an example but the principle steps are similar when installing MetaMask in other browsers.
You can install MetaMask using the official website or go directly to Google chrome web store
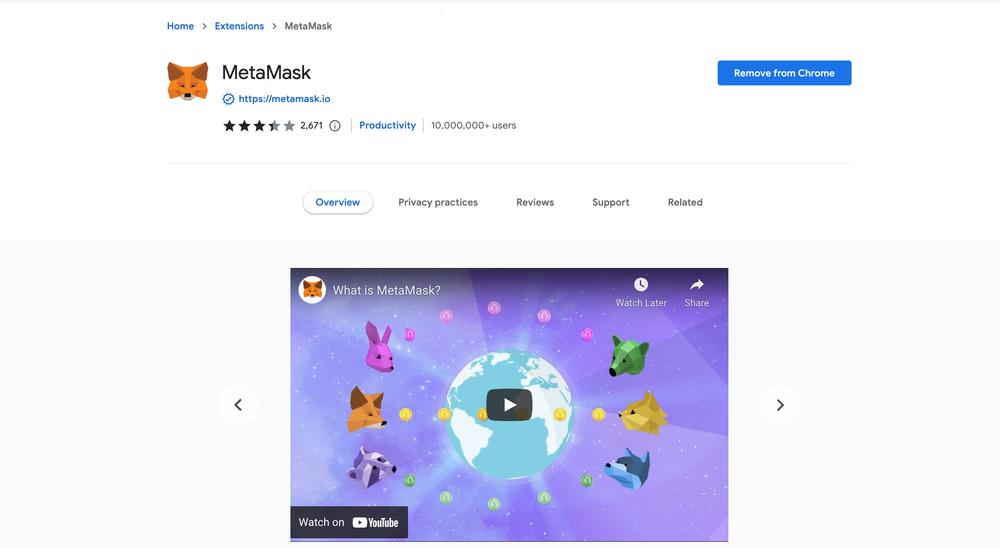
Check the number of downloads to make sure that the legitimate MetaMask is being installed, as there are plenty of fake MetaMask wallets.
Click the Add to Chrome button & you should have your wallet installed.
Once you’ve installed, MetaMask will appear as an extension and can easily be accessed through “Settings” on Google Chrome where you can pin the wallet extension for ease of access.
Step 2: Login to your MetaMask Wallet
If you are new to MetaMask, create a wallet after installing MetaMask which will require you to choose a password and store a recovery phrase (Make sure to store your recovery phrase in a safe place).
If you already have a wallet created then log in using your MetaMask password.
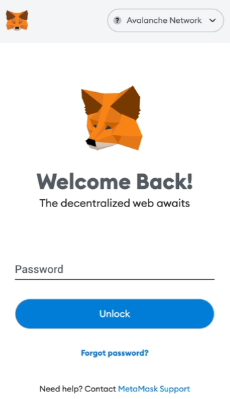
In order to log in, click on the MetaMask Chrome extension, enter your password, and click on “Unlock”.
Step 3: Set up Celo network on MetaMask Wallet
Our final step is to set up the Celo network on your MetaMask wallet after you're logged in. Open the MetaMask wallet on a new browser tab by simply clicking on the MetaMask logo on the top right extension area.
Click the three dots in the top-right and select the “Expand view”.
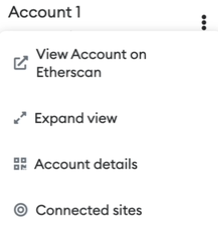
By clicking on “Expand view” you will be able to interact with your MetaMask wallet interface on a larger screen.
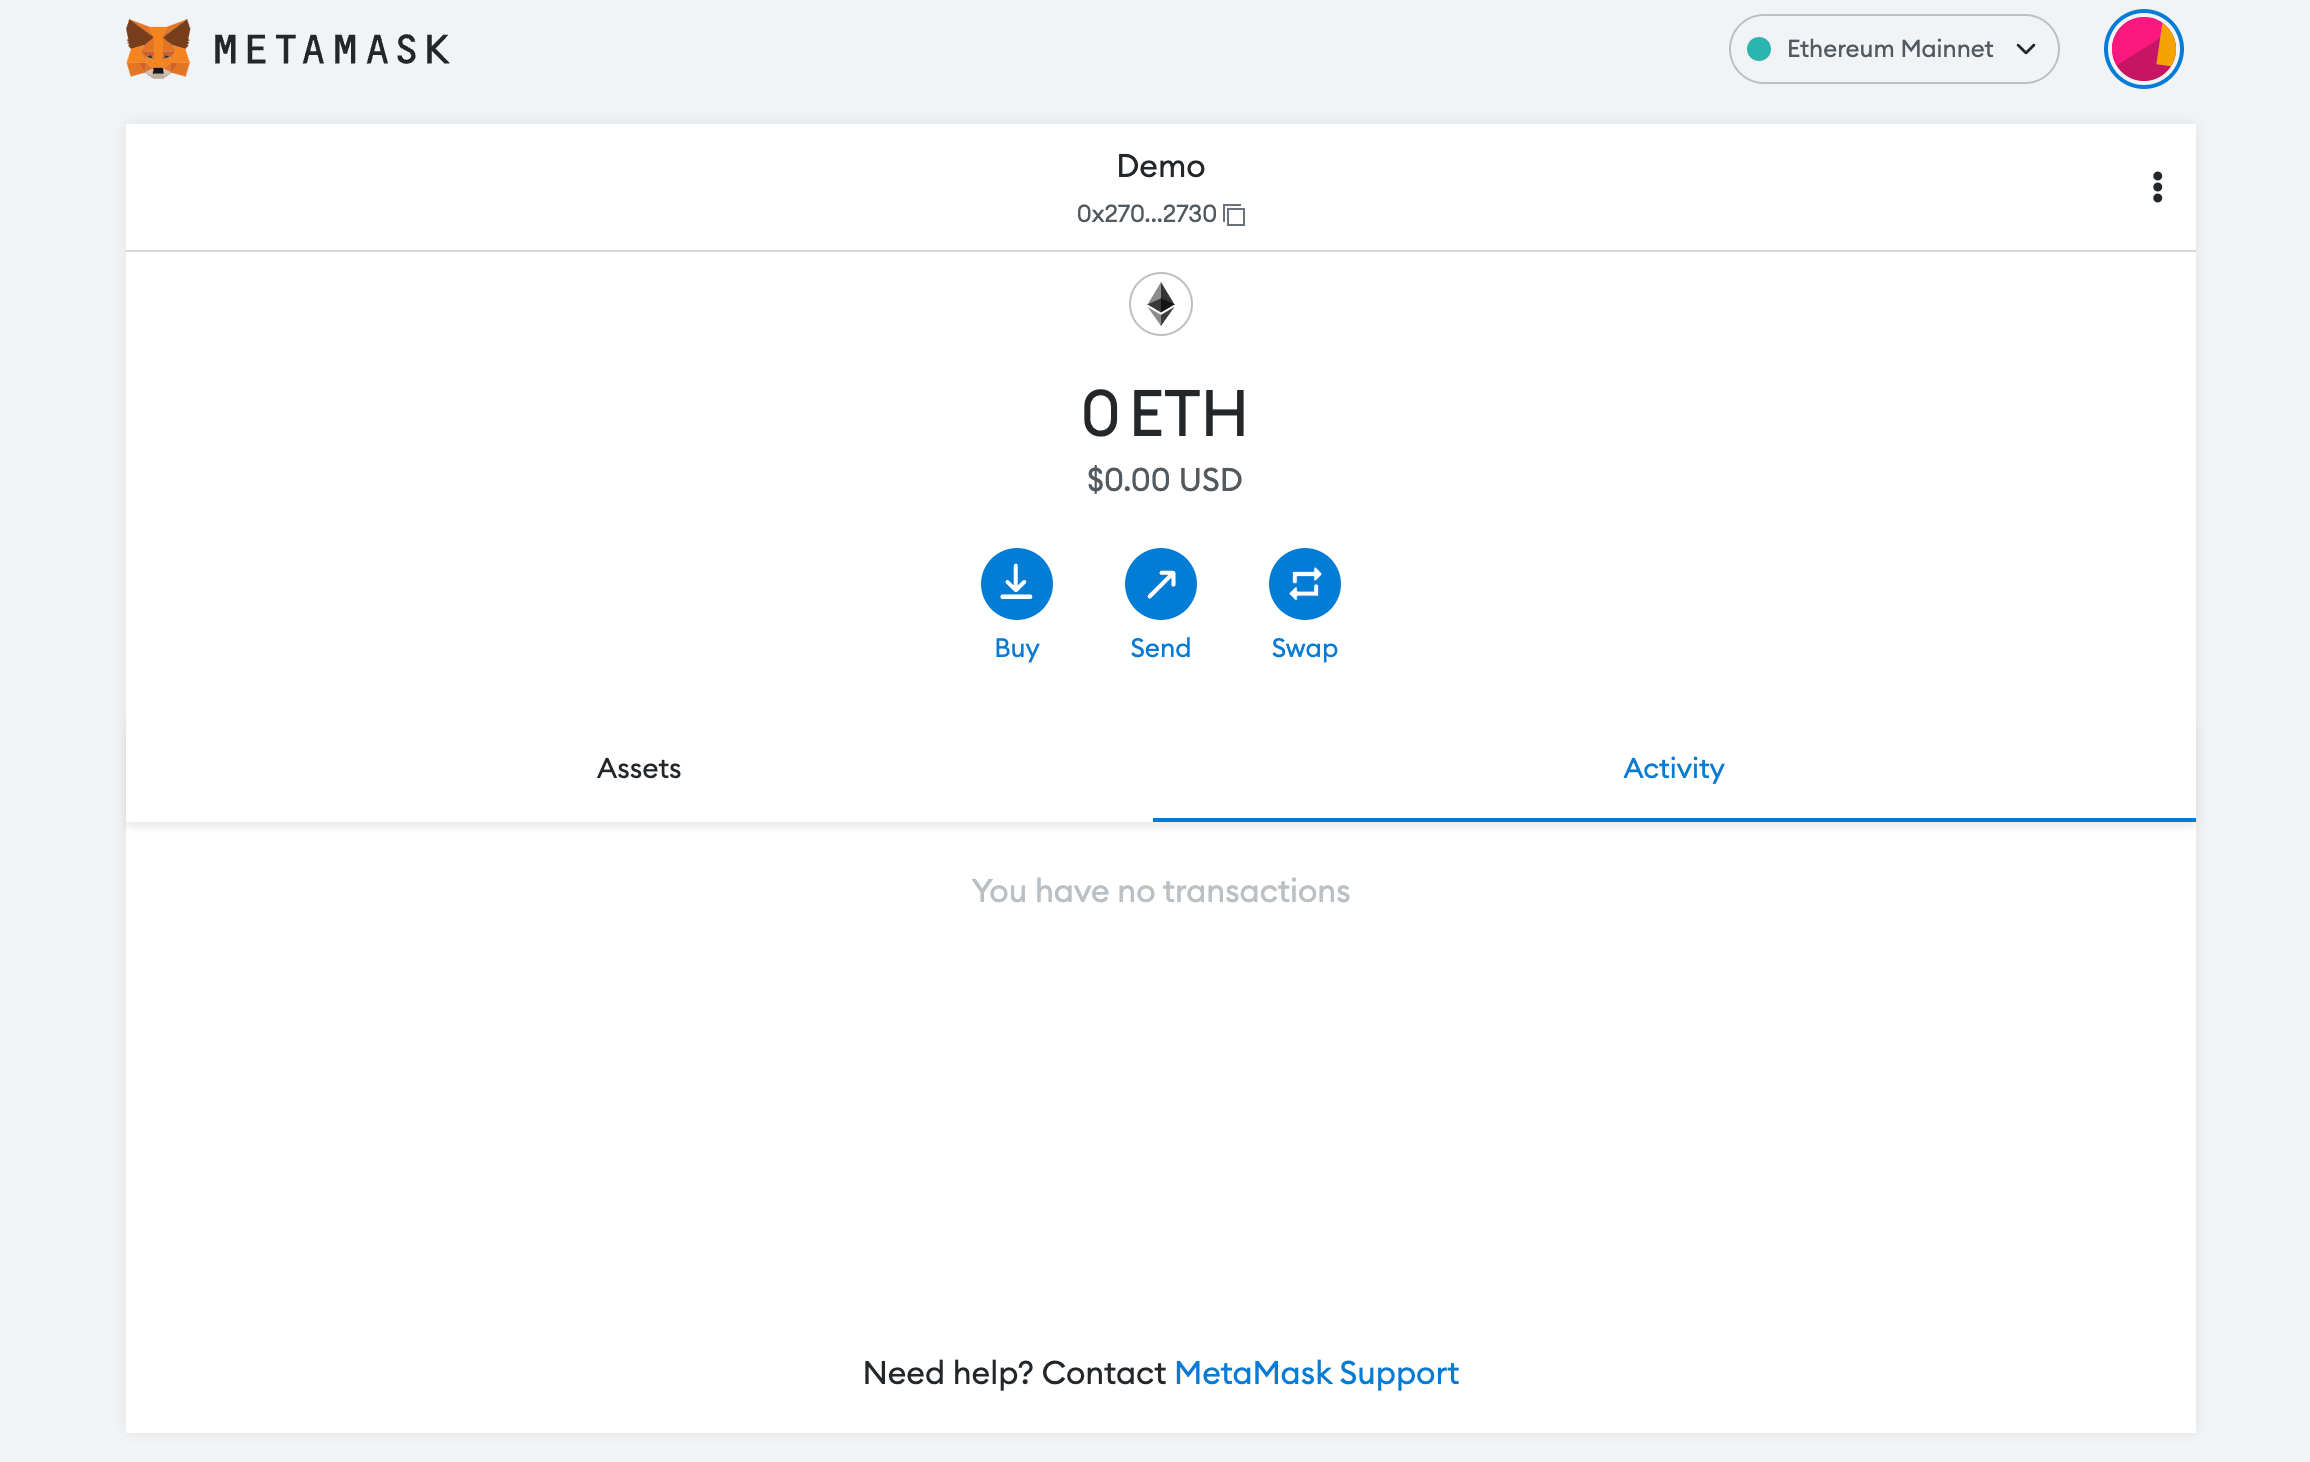
In order to add a new chain network or switch between different blockchain networks, you will need to click on the network tab which by default will show "Ethereum Mainnet" on the top right-hand corner.
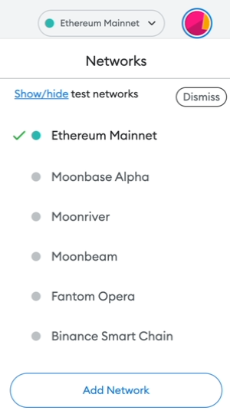
Click on Add Network in order to add Celo network to MetaMask.
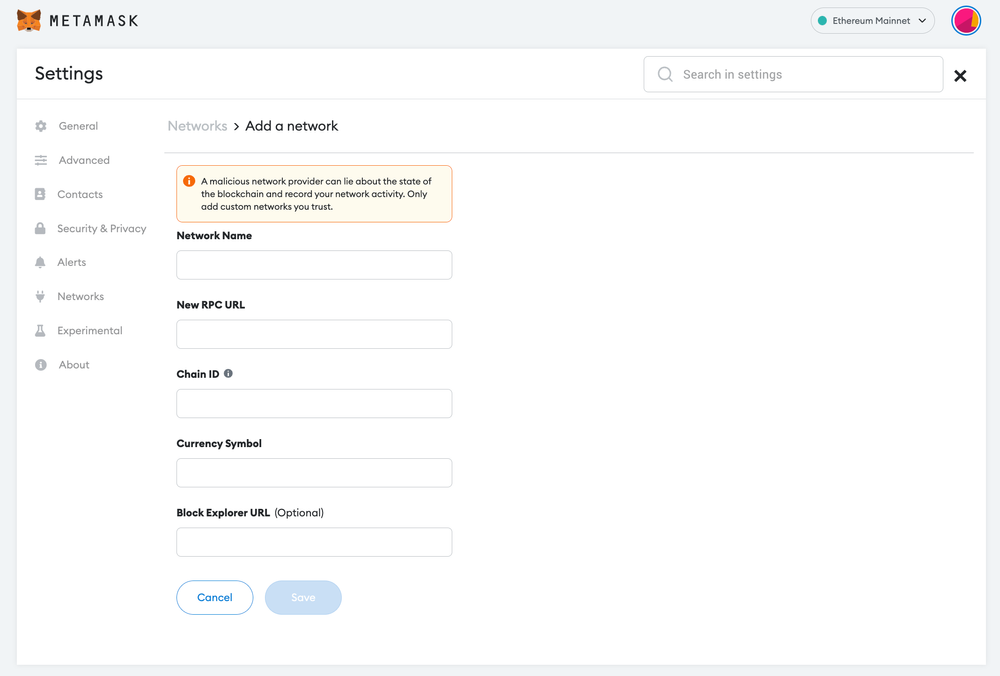
Now you should be able to provide all the required Celo network details.
This includes the network name, new RPC URL, chain ID, currency symbol, and block explorer URL. Simply copy paste the required chain info from below.
Celo Mainnet info:
Network Name: Celo (Mainnet)
New RPC URL: https://forno.celo.org
Chain ID: 42220
Currency Symbol (Optional): CELO
Block Explorer URL (Optional): https://explorer.celo.org
Celo testnet info:
Network Name: Celo (Alfajores Testnet)
New RPC URL: https://alfajores-forno.celo-testnet.org
Chain ID: 44787
Currency Symbol (Optional): CELO
Block Explorer URL (Optional): https://alfajores-blockscout.celo-testnet.org
After entering all the required details, simply select “Save”. You will be redirected to your wallet where you will see the Celo network added.
Popular Tags : Celo network to MetaMask, Celo network, Celo platform, Celo to MetaMask Wallet, Celo


