How to add Gnosis network (GNO) to MetaMask Wallet

Gnosis dApp is a prediction market platform built on the Ethereum Network. It operates on a decentralized network allowing users to create their unique markets thereby offering a unique experience and secure platform.
In this guide, we provide step by step guide on how you can add the Gnosis network to MetaMask Wallet.
What is Gnosis?
Gnosis is an open-source, decentralized prediction platform built on the Ethereum blockchain. Users are able to create markets where they can speculate on any event or arbitrary outcome. Gnosis utilizes the Ethereum protocol to execute a secure and transparent ecosystem
The Gnosis protocol provides a very efficient forecasting platform for prediction markets. It uses three separate platforms to achieve its vision; Apollo, a prediction market platform where users can create their own tokens, DutchX, a decentralized exchange where users can trade and auction off their tokens, and Gnosis Safe, a cryptocurrency wallet and browser that interacts with Ethereum apps.
Briefly on MetaMask
MetaMask on the other hand is a popular crypto wallet that can get you connected to different blockchains and decentralized platforms.
Using MetaMask to gain entry to various blockchain networks, provides you with quick transactions and lower fees through its decentralized applications (dapps) and its decentralized finance (DeFi) platform.
To manage your assets, you need a wallet to interact with the blockchain. Here are the steps to add the Gnosis network to MetaMask Chrome Extension.
Step 1. Install MetaMask Extension on Chrome
MetaMask Wallets are available on both IOS and Android devices, as well as browser extensions compatible with all four major browsers. (Chrome, Firefox, Brave, Edge).
You can install MetaMask extension using the official website or you can go directly to Google chrome web store.
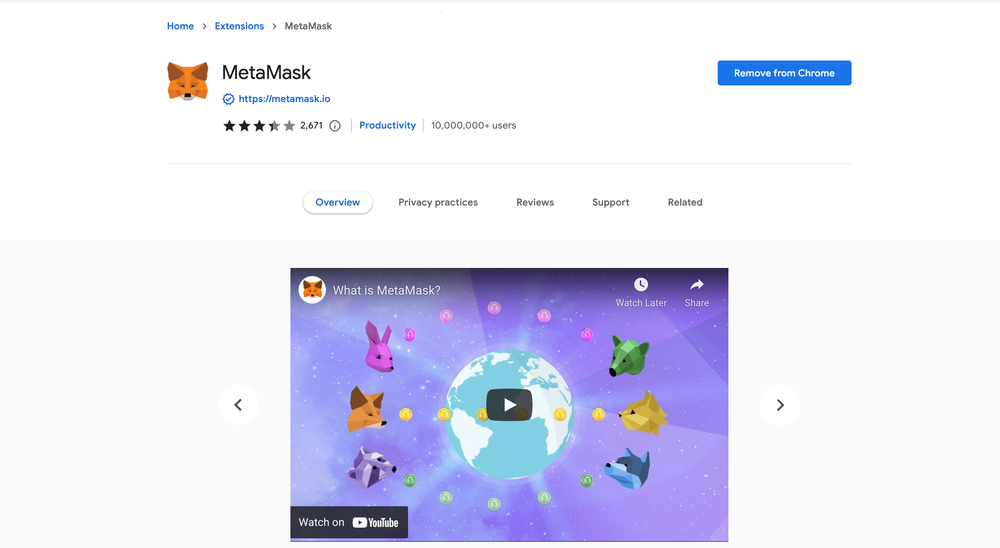
Click the [Add to Chrome] button & you should have your wallet installed.
Once you’ve installed MetaMask, it will appear as an extension and can be easily accessed through “Settings” on Google Chrome where you can pin the wallet extension for ease of access.
Step 2. Login to MetaMask Wallet.
In order to log in, click on the MetaMask Chrome extension, enter your password, and click on [Unlock].
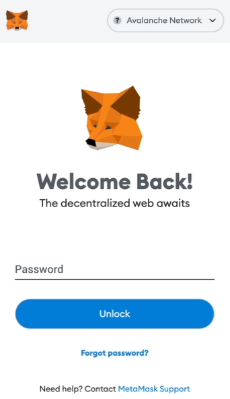
Step 3: Add Gnosis network on MetaMask
The next step is to add Gnosis network on MetaMask wallet after you're logged in. Open the MetaMask wallet on a new browser tab by simply clicking on the MetaMask logo on the top right extension area.
Click the three dots (...) in the top-right and select the “Expand view”.
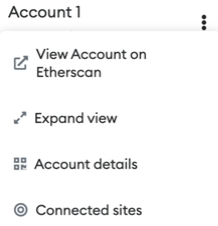
By clicking on “Expand view” you will be able to interact with your MetaMask wallet interface on a larger screen.
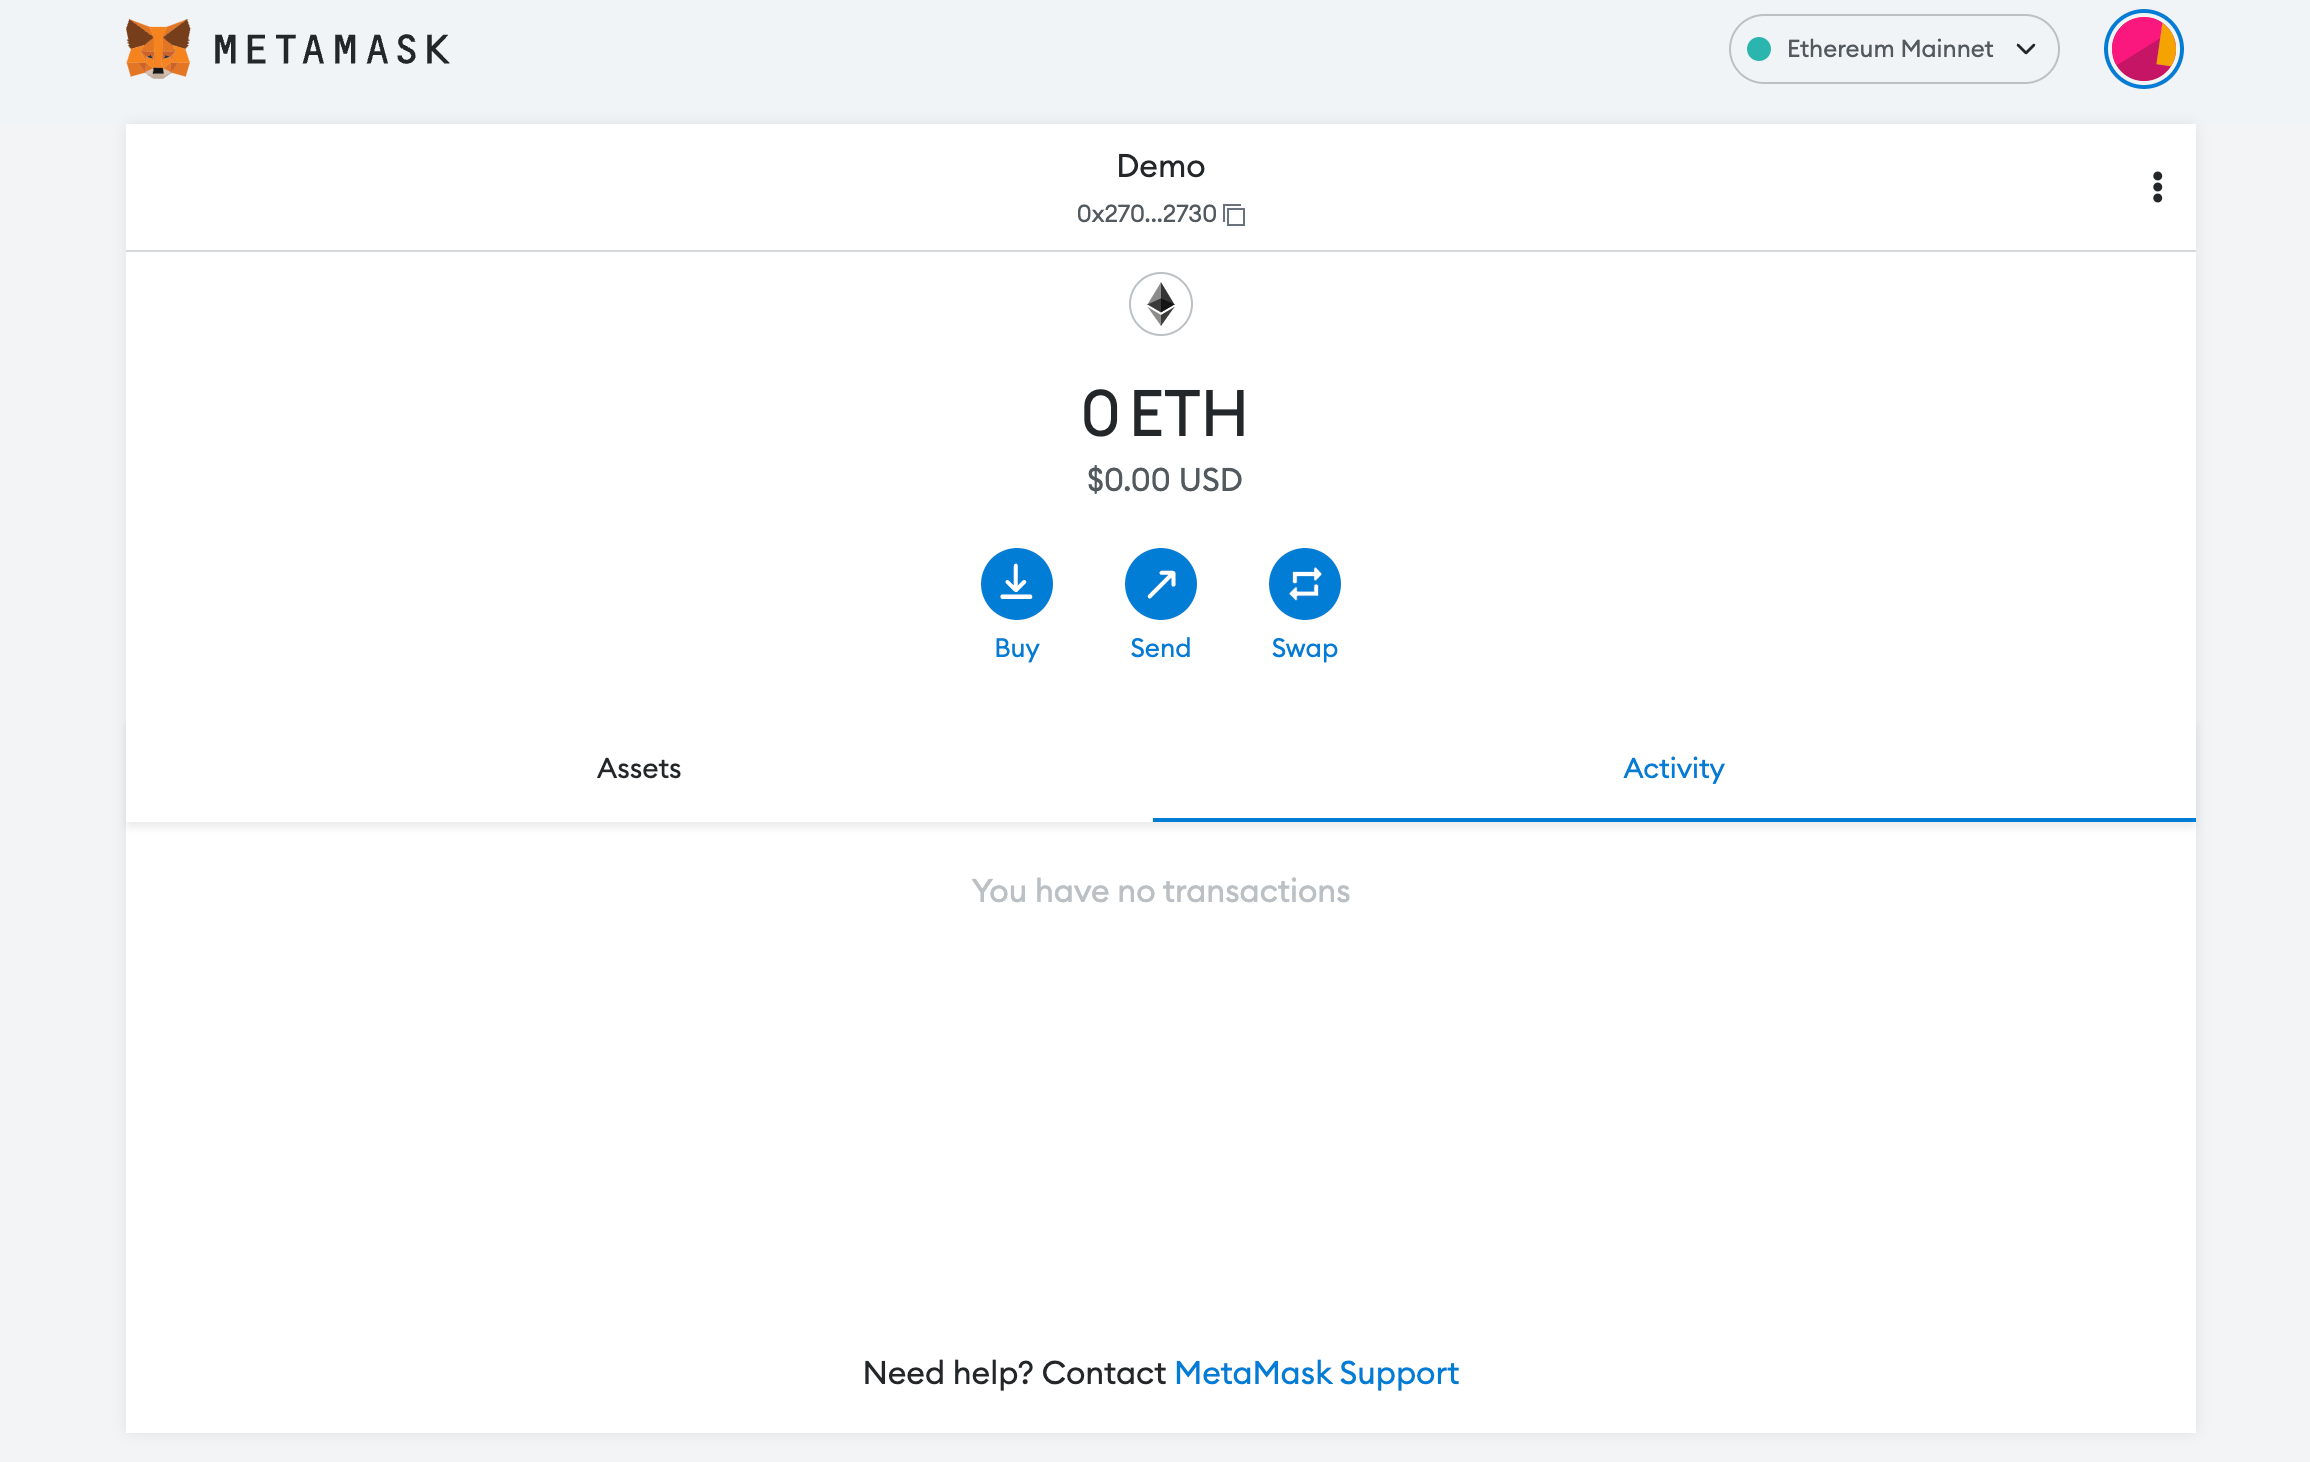
In order to add a new chain network or switch between different blockchain networks, you will need to click on the network tab which by default will show "Ethereum Mainnet" on the top right-hand corner.
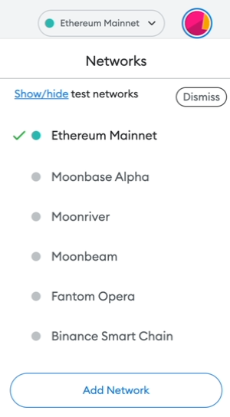
Click on Add Network in order to add Gnosis network to MetaMask Wallet.
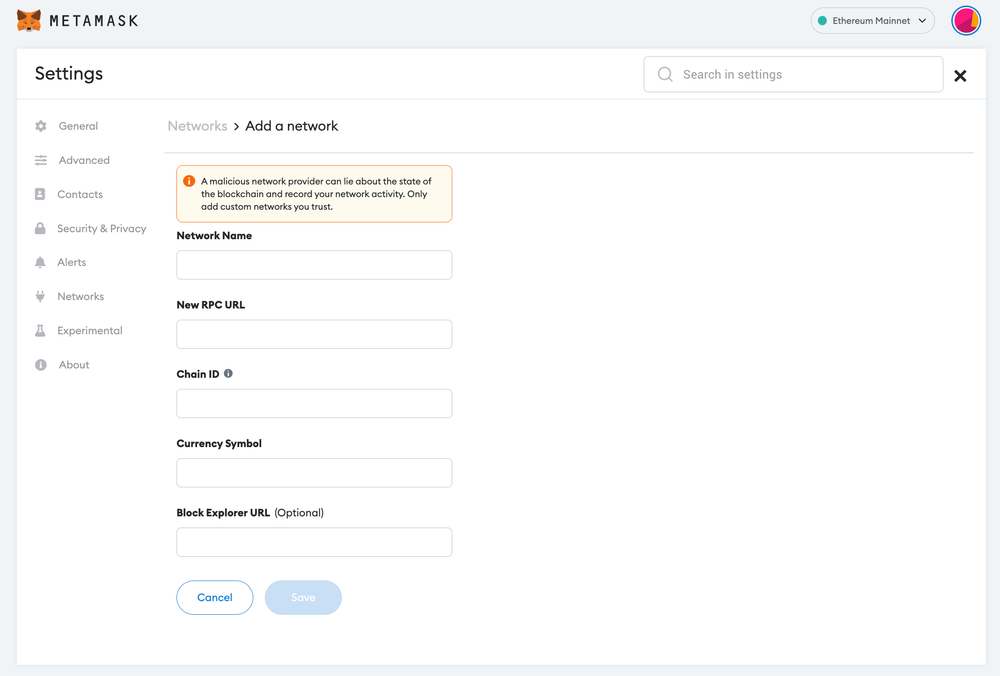
Now you should be able to provide all the required Gnosis network details.
This includes the network name, New RPC URL, Chain ID, Currency Symbol, and block explorer URL. Simply copy and paste the required chain info from the information below.
Gnosis chain mainnet info:
Network Name: Gnosis Chain
New RPC URL: https://rpc.gnosischain.com
Chain ID: 0x64
Symbol: xDai
Block Explorer URL: https://blockscout.com/xdai/mainnet
Gnosis chain testnet info:
Network Name: xDai Testnet
RPC URL: https://sokol.poa.network/
Chain ID: 77
Currency Symbol: xDai
Block Explorer URL: https://blockscout.com/poa/sokol
After entering all the required details, simply select “Save”. You will be redirected to your wallet where you will see Gnosis network added.
Popular Tags : Gnosis network (GNO) to MetaMask Wallet, Gnosis network , Gnosis dApp, Gnosis protocol, Gnosis network metamask, Gnosis Chain


