How To Deploy A Dash Node
Setting up a Dash masternode is the way to go if you value security and privacy when interacting with the network. Our article today will give detailed instructions to deploy a Dash node on Linux.
Just a final reminder: make sure you're ready to be an essential participant in the Dash's decentralized structure.
What is a Dash Masternode?
Masternodes are nodes on the Dash blockchain that are backed by collateral in the form of Dash coins. They are responsible for providing a number of essential services to the network, including:
- InstantSend: Masternodes allow for instant transactions on the Dash network. This means that transactions are confirmed in seconds rather than the minutes or even hours it can take on other blockchains.
- PrivateSend: Masternodes mix transactions together, making it more difficult for third parties to track the movement of funds on the Dash network. This provides users with more privacy and security.
- Governance: Masternodes vote on proposals for changes to the Dash network. This gives users a say in how the network is developed and managed.
To run a masternode, you must stake 1,000 Dash coins. This collateral ensures that masternode operators are committed to the network and that they will not act maliciously. Masternode operators are rewarded for their services with Dash coins.
Dash Node Setup Requirements
- Operating system: Dash nodes can run on most Linux, macOS, and Windows systems.
- RAM: The minimum recommended amount of RAM is 2 GB, but you may need more if you plan on running a lot of applications on your node.
- CPU: A single CPU core is sufficient for most nodes, but you may want to use more cores if you plan on running a lot of applications on your node or if you want to improve the performance of your node.
- Storage: You will need some storage space to store the Dash blockchain. The amount of storage space you need will depend on the size of the blockchain.
- Bandwidth: You will need a reliable internet connection with a decent amount of bandwidth. The amount of bandwidth you need will depend on the number of nodes that you are connected to and the amount of data that you are transferring.
- 1000 Dash collateral: In order to run a Dash node, you will need to provide 1000 Dash as collateral. This collateral is locked up and cannot be spent while the node is running.
- A dedicated IP address: Dash nodes are required to have a dedicated IP address. This means that the IP address of your node cannot be shared with any other devices or services.
Check out Dash's documentation for the latest setup updates.
How to Deploy a Dash Node on Linux
Step 1: Configure the server
To get your masternode up, the first step is to configure the server. You can check out the Server configuration page for preparation details.
Step 2: Send the collateral
To run a masternode, you need a Dash address with one unspent transaction output (UTXO) containing 1000 DASH. After that, you must extract certain keys for later use. These keys will be entered in a configuration file and registration transaction as proof. This is necessary to write the configuration to the blockchain and include the masternode in the deterministic list.
You can register a masternode using a hardware wallet, the official Dash Core wallet, or a Dash Electrum wallet. It is best to use a hardware wallet for better security and protection against hacking.
Note: To register a masternode with Dash Electrum, go to the Electrum - Advanced Functions page for more information.
Step 3: Install Dash Core
Dash Core is the software that powers the Dash Core GUI wallet and Dash masternodes. If you don't see a GUI, it runs as a daemon on your VPS (dashd), controlled by a basic command interface (dash-cli).
To start, open PuTTY or a console. Then, connect using the username and password you made for your new user. You have a few options for installing a Dash masternode. This guide concentrates on manual installation.
Install binary
To download and install the parts of your Dash masternode, go to the GitHub releases page and copy the link to the latest x86_64-linux-gnu version. Then, in your terminal window, enter this command and paste the address to the latest version of Dash Core by right-clicking or pressing Ctrl + V:
https://github.com/dashpay/dash/releases/download/v19.3.0/dashcore-19.3.0-x86_64-linux-gnu.tar.gz
To make sure your download is authentic, compare its signature to the public key from the Dash Core team.
- Alexander Block (codablock) with the key
63A9 6B40 6102 E091, verifiable here on Keybase - Pasta (pasta) with the key
5252 7BED ABE8 7984, verifiable here on Keybase
curl https://keybase.io/pasta/pgp_keys.asc | gpg --import
wget https://github.com/dashpay/dash/releases/download/v19.3.0/dashcore-19.3.0-x86_64-linux-gnu.tar.gz.asc
gpg --verify dashcore-19.3.0-x86_64-linux-gnu.tar.gz.asc
To create a working directory for Dash, run this command:
mkdir ~/.dashcoretar xfv dashcore-19.3.0-x86_64-linux-gnu.tar.gz
cp -f dashcore-19.3.0/bin/dashd ~/.dashcore/
cp -f dashcore-19.3.0/bin/dash-cli ~/.dashcore/
To create a configuration file, run this command:
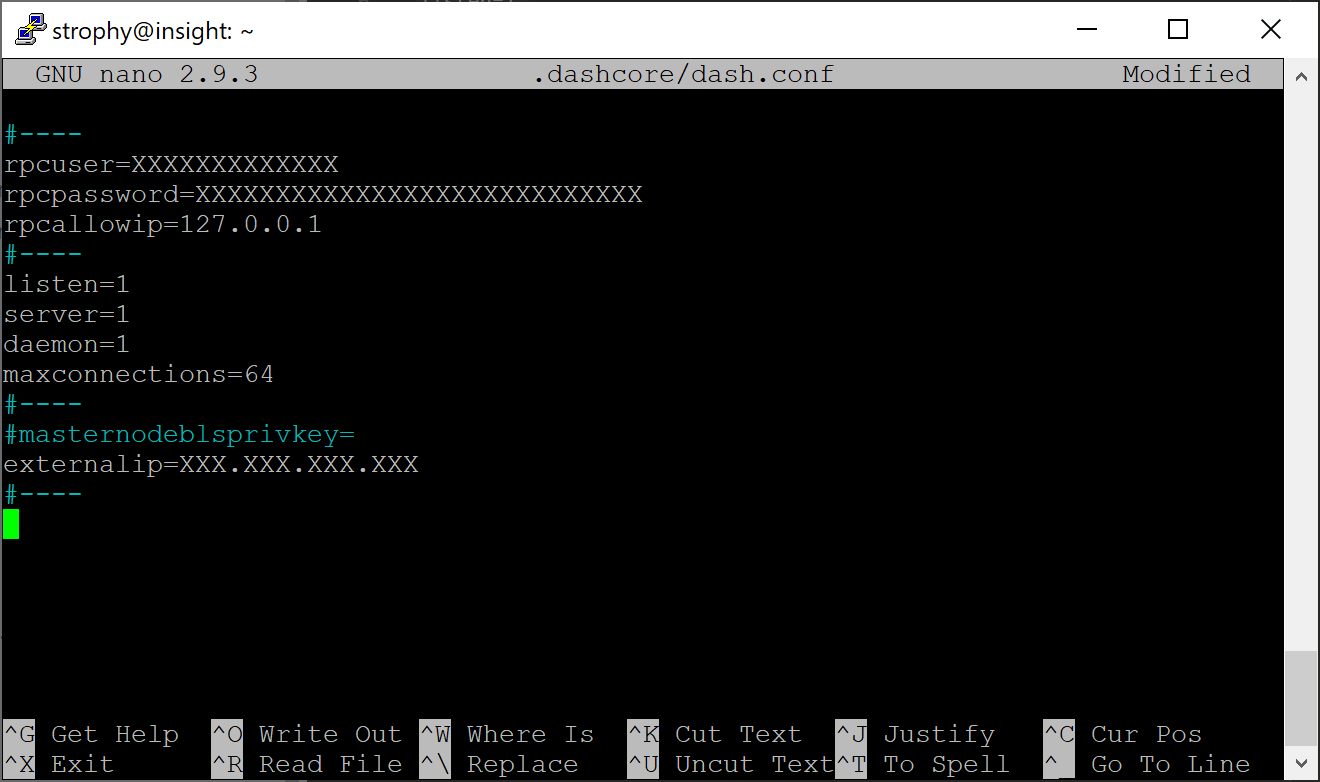
nano ~/.dashcore/dash.confOpen the editor window. Create a configuration file with different variables. Copy and paste the given text. Replace the variables with your own configuration.
#----rpcuser=XXXXXXXXXXXXX
rpcpassword=XXXXXXXXXXXXXXXXXXXXXXXXXXXX
rpcallowip=127.0.0.1
#----
listen=1
server=1
daemon=1
#----
#masternodeblsprivkey=
externalip=XXX.XXX.XXX.XXX
#----
Replace XXXXXXX with the following fields:
rpcuser: You can input any combination of numbers or letters, but special characters are not permitted.rpcpassword: You can input a string of numbers or letters, but special characters are not allowed.externalip: This is your VPS's IP address.
Keep the masternodeblsprivkey unchanged for now. The expected result is:
To close the editor, press Ctrl X. To save the file, press Y and Enter. Start running Dash on the masternode to synchronize with the blockchain.
~/.dashcore/dashdYou'll notice a message saying that the Dash Core server is starting. Next, we'll install Sentinel, a software that acts as a watchdog to let the network know that your node is functioning correctly.
cd ~/.dashcoregit clone https://github.com/dashpay/sentinel.git
cd sentinel
virtualenv venv
venv/bin/pip install -r requirements.txt
venv/bin/python bin/sentinel.py
You will receive a notification saying dashd is not synchronized with the network! Please wait until it is fully synced before running Sentinel. Remember to add dashd and sentinel to your crontab to ensure it runs every minute for monitoring your masternode
crontab -eSelect nano as your editor and input the given lines at the end of the file.
* * * * * cd ~/.dashcore/sentinel && ./venv/bin/python bin/sentinel.py 2>&1 >> sentinel-cron.log* * * * * pidof dashd || ~/.dashcore/dashd
Next, hit enter in order to have a blank line at the end of the file. Afterward, close the editor by pressing Ctrl + X and save the file by selecting Y followed by Enter.
You will now have to wait until there are 15 confirmations for the collateral transaction to be completed, as well as wait for synchronization of the blockchain on the masternode. Use the given commands to keep track of progress.
~/.dashcore/dash-cli mnsync statusOnce synchronization is complete, you will see the following result:
{"AssetID": 999,
"AssetName": "MASTERNODE_SYNC_FINISHED",
"AssetStartTime": 1558596597,
"Attempt": 0,
"IsBlockchainSynced": true,
"IsSynced": true,
"IsFailed": false
}
Step 4: Register your masternode
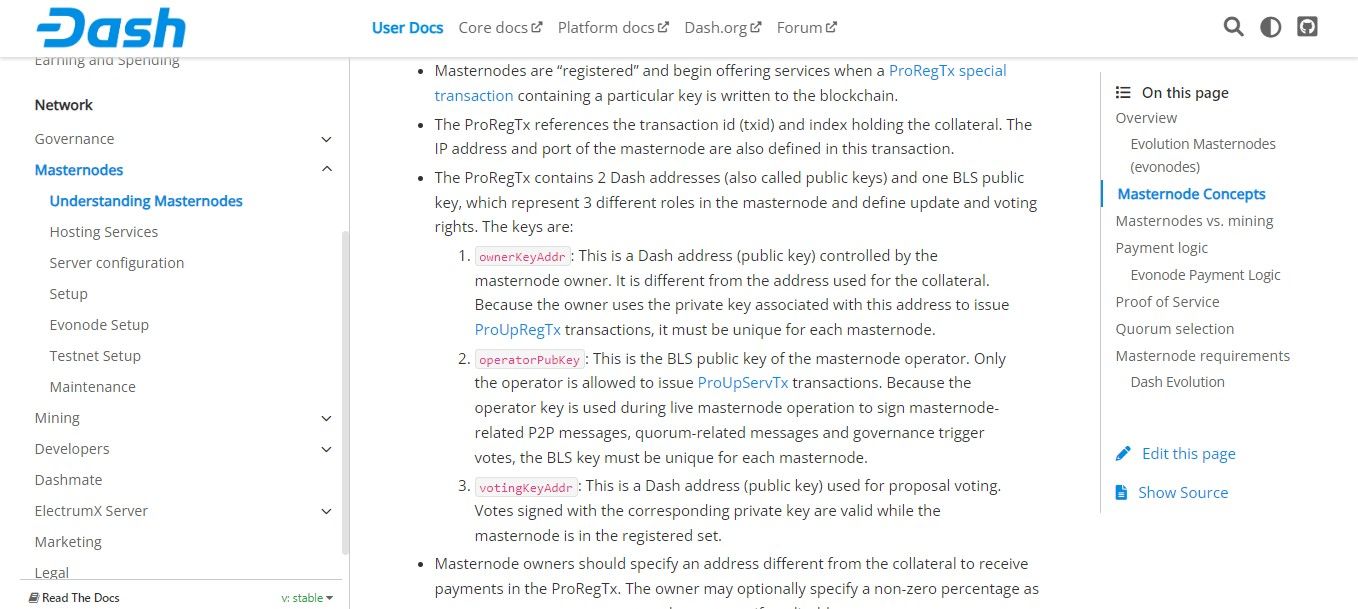
Before registering your masternode, make sure you have a clear understanding of the three different masternode roles. For a revision, plow through Masternode Concepts.
Once you have an idea of what you're going to commit to, you can proceed to the final setup. There are three options to register your masternode:
- Register from a hardware wallet.
- Register from a Dash Core wallet.
- Register from a Dash Electrum wallet.
Since you can easily find all the details on Dash Docs, this final part will show you the pros and cons of each option. You can consider these areas to pick the one that suits you the best.
Hardware wallets are considered to be the most secure way to store cryptocurrencies because they keep the private keys offline. However, they are typically expensive. Moreover, these physical devices can be lost or damaged.
Dash Core Wallet and Dash Electrum Wallet are free. Dash Core wallet is the official Dash wallet and supports all Dash features, while Dash Electrum wallet is the light wallet and does not support all Dash features.
If you are looking for the most secure and reliable option, then the Dash Core wallet is the best choice. If you are looking for a lightweight and easy-to-use wallet, the Dash Electrum wallet is a good choice.


