How to Deploy a Monero Node On Linux: Node Setup

Running a Monero node is an effective method to uphold your privacy when using cryptocurrency. In this guide, we will show you how to run a Monero node on Linux - our guide will cover the following areas:
- Prerequisites: What you need to run a Monero node.
- Installation: How to set up the Monero software.
- Configuration: How to configure the Monero software.
- Running: How to start and stop the Monero node.
What is Monero (XMR)?
The major change in public awareness of the monetary system has motivated the development of privacy-focused coins, with Monero (XMR) coming under the spotlight. Monero is a decentralized, privacy-oriented cryptocurrency that enables confidential transactions, and user anonymity and security.
What is a Monero Node?
A Monero node refers to a device connected to the Internet. It's equipped with the Monero software and stores a complete copy of the Monero blockchain.
A Monero remote node, on the other hand, operates outside of your local machine. These nodes can either be private or public, depending upon the users' purposes.
The role of nodes is to actively support the Monero network. Running a Monero node secures the network, making it more difficult for attackers to control or manipulate transactions. It additionally helps improve network efficiency.
Node deployment is also a good way to learn more about the project, how it works, and how to use it.
Monero Node Setup Requirements
The minimum system requirements for running a Monero full node are:
- Operating system: Debian-based Linux
- RAM: 4 GB
- CPU: Dual-core
- Storage: 160 GB
- VPS setup:
These are the minimum requirements, and you may need more resources depending on how you use your node. For example, if you plan to mine Monero, you will need to upgrade CPU and RAM.
Apart from the prerequisites, here are some additional tips for deploying a Monero full node:
- Keep your node up to date: The Monero software is constantly being updated with new features and security fixes. It is important to keep your node up to date to ensure that it is secure and functioning properly.
- Back up your data: The Monero blockchain is a large and valuable dataset. Regular backup helps prevent data loss in case of a hardware failure or other disasters.
How to Deploy a Monero Node: Linux Setups
Step 1: Open Port 18080
Before running the Monero node, you need to make sure that port 18080 is open on your VPS.
- Control Panel -> System and Security -> Windows Firewall.
- Advanced settings -> Inbound Rules -> Right-click Inbound Rules -> New Rule.
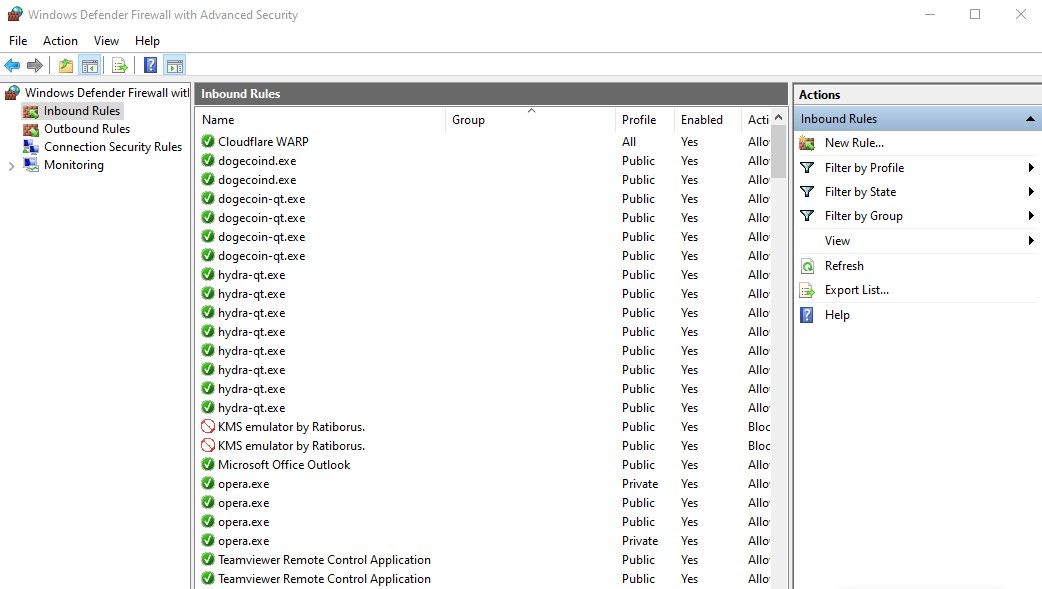
- Specify the protocol (TCP or UDP) -> Add the port number -> Next -> Allow the connection.
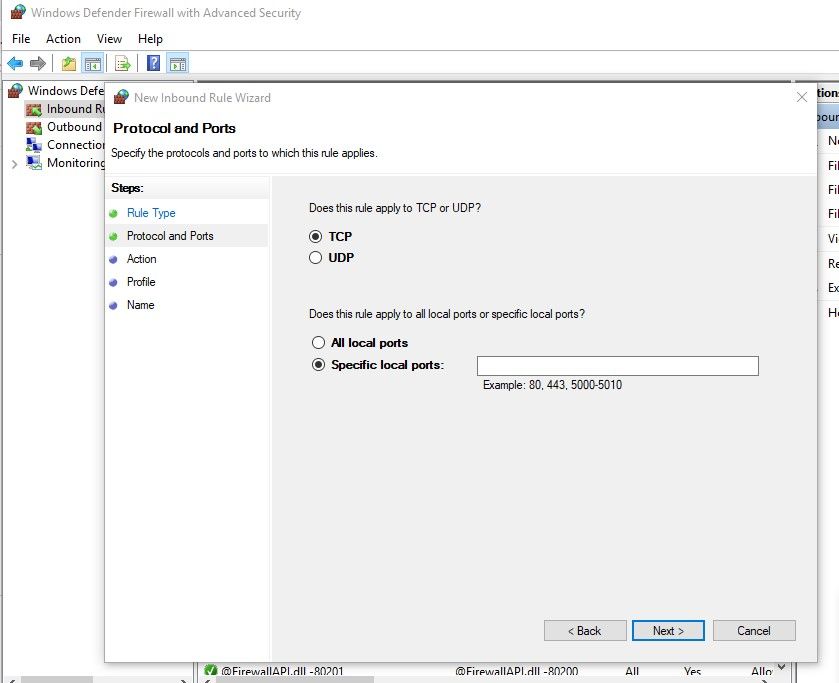
What is port 18080?
Port 18080 is a specific network port used by the Monero daemon (monerod) to connect and communicate with other nodes on the Monero network. This allows for the exchange of data and synchronization of the Monero blockchain between different nodes on the network.
Step 2: Download the Monero Daemon
Next, you need to download the current Monero Core binaries from the official Monero website. Use the wget command to download the binaries:
wget https://downloads.getmonero.org/linux64
What is Monero Daemon?
Daemon is the software that runs in the background and provides the core functionality of the Monero cryptocurrency. It can be run on any computer that has the necessary hardware and software requirements. It is a command-line application, but there are also graphical user interfaces (GUIs) that can be used to interact with the daemon.
Step 3: Create a Directory
Create a directory to store the Monero files and extract the downloaded binaries into that directory. Run the following commands:
mkdir monero tar -xjvf linux64 -C monero
Step 4: Run the Daemon
Navigate to the Monero directory and launch the monerod daemon:
cd monero ./monerod
This command will start the Monero daemon and begin syncing with the Monero network. The Monero blockchain is a large database, so synchronization can take some time. During synchronization, the new node will connect to other nodes on the network and download blocks of data.
Optional Commands:
Here are a few additional commands that you may find useful:
- To view a list of all options and settings available for monerod, run:
./monerod --help
- If you want to run the daemon as a background process, use the following command:
./monerod --detach
- To monitor the output of
monerodif running as a daemon, you can use the tail command to follow the log file:
tail -f ~/.bitmonero/bitmonero.log
Step 5: Automatic Security Updates
To ensure the security of your VPS, it's recommended to enable automatic security updates. Ubuntu provides a guide on how to set up automatic security updates, which you can follow by visiting this link.
By following this guide, you will have successfully deployed a Monero node on your VPS using the monerod daemon software. Your node will now contribute to the Monero network by helping to validate transactions and secure the blockchain.
For further details, we recommend that you read the Monero Users Guides. The documentation covers detailed instructions on how to interact with the Monero network in different ways, from mining, running a node, setting up a wallet, and more.


