How To Deploy An Algorand Node on Linux

Running a node on Algorand is a great way to support the network. Your contribution helps to keep the network secure and decentralized, and it's also fun to watch your node up and running. If you're an Algonaut looking to get involved, this guide is everything you need!
Let's explore how to deploy an Algorand node on Linux and what you need for node pre-setup.
What is an Algorand Node?
The Algorand network is made up of two types of nodes: non-relay nodes and relay nodes. Let's break down their roles:
- Relay nodes: These nodes handle network communication and routing. A relay node will connect with other relay nodes and send blocks to non-relay nodes.
- Non-relay nodes: These nodes connect to relay nodes and participate in consensus. They are responsible for validating transactions but do not connect directly with other non-relay nodes.
Non-relay nodes are also known as participation nodes. Running an Algorand node is often referred to as running a participation node.
Algorand specifies different configurations for Algorand nodes based on relay (relay or non-relay), archival (whether the node stores the entire ledger history), and participation (whether the node participates in the consensus).
So, which type of nodes and mode are right for you? The answer depends on your goals. If you want to:
- Participate in consensus: Set up a non-relay non-archival participation node to actively contribute to securing the network. You don't need to store the entire ledger history but focus on consensus activities.
- Send transactions and access the current state: Set up a non-relay non-archival non-participation node.
- Access historical data and advanced queries: Set up a non-relay archival non-participation node. These nodes can be connected to an indexer to enable advanced queries.
- Streamline network communication: Set up a relay archival non-participation node. These nodes focus on routing and distributing messages but will not participate in the consensus process.
Running a node on Algorand is a great way to support the network. Apart from that, staking is another popular way to get involved into the ecosystem. Get useful tips to stake Algorand with validators and earn extra ALGO.
Algorand Node Setup Requirements
Your device needs to meet specfic hardware requirements to get started to install and run the Algorand Node software on Linux distributions and Mac OS.
The Algorand team has noted two Linux-based installation methods: the package manager method and the updater script method. While the package manager method is recommended, the updater script method provides more flexibility in setting data directories.
Package Manager Installation Method:
- This method uses fixed directories and automatically updates the software.
- It has been validated on Debian, Ubuntu, Fedora, and CentOS.
- It is strongly recommended to avoid mixing and matching installation methods.
- Suitable for Debian, Ubuntu, Fedora, CentOS, and other Debian and Red Hat-based Linux distributions.
Updater Script Installation Method:
- This method allows manual setting of data directories and requires manual updates.
- It has been tested on Linux distributions mentioned above, as well as openSUSE Leap, Manjaro, Mageia, Alpine, and Solus.
- If the package manager method is available, it is strongly recommended to use it to avoid potential issues.
Windows users may choose to use Rand Labs installation binaries for their installation.
AlgoKit is optional if developers prefer a private network. The process is simpler compared to manual node installation. However, Algorand software is the top pick as there is no need for running a node to gain access to developers tools.
Algorand Node Hardware Requirements:
- RAM: At least 4GB (8GB strongly recommended)
- Storage: A not-too-slow SSD (HDD and SD cards are too slow for a MainNet node and may prevent node synchronization)
- Internet Connection: At least 100Mbps (1Gbps recommended)
For participation nodes, especially those with high stakes, and relays, higher hardware requirements are necessary to ensure optimal blockchain performance. The recommended system specifications are as follows:
Participation Nodes:
- CPU: 8 virtual CPUs (vCPU)
- RAM: 16 GB
- Storage: 100 GB NVMe SSD or equivalent
- Internet Connection: 1 Gbps with low latency
Relay Nodes:
- CPU: 16 virtual CPUs (vCPU)
- RAM: 32 GB
- Storage: 3 TB NVMe SSD or equivalent
- Monthly Data Transfer: 30 TB egress
- Internet Connection: 1 Gbps with very low latency
As of October 2022, it is advisable to use directly-attached NVMe SSDs for optimal performance. However, AWS EBS gp3 can still deliver satisfactory performance.
Users who choose this option should keep an eye on the node's performance and contemplate switching to faster storage solutions if there is a notable rise in TPS support.
In development scenarios involving private networks, lower specifications are usually satisfactory because the TPS requirements are lower. For low-TPS private networks, a Raspberry Pi with 2GB of RAM is sufficient.
How to Deploy an Algorand Node on Linux
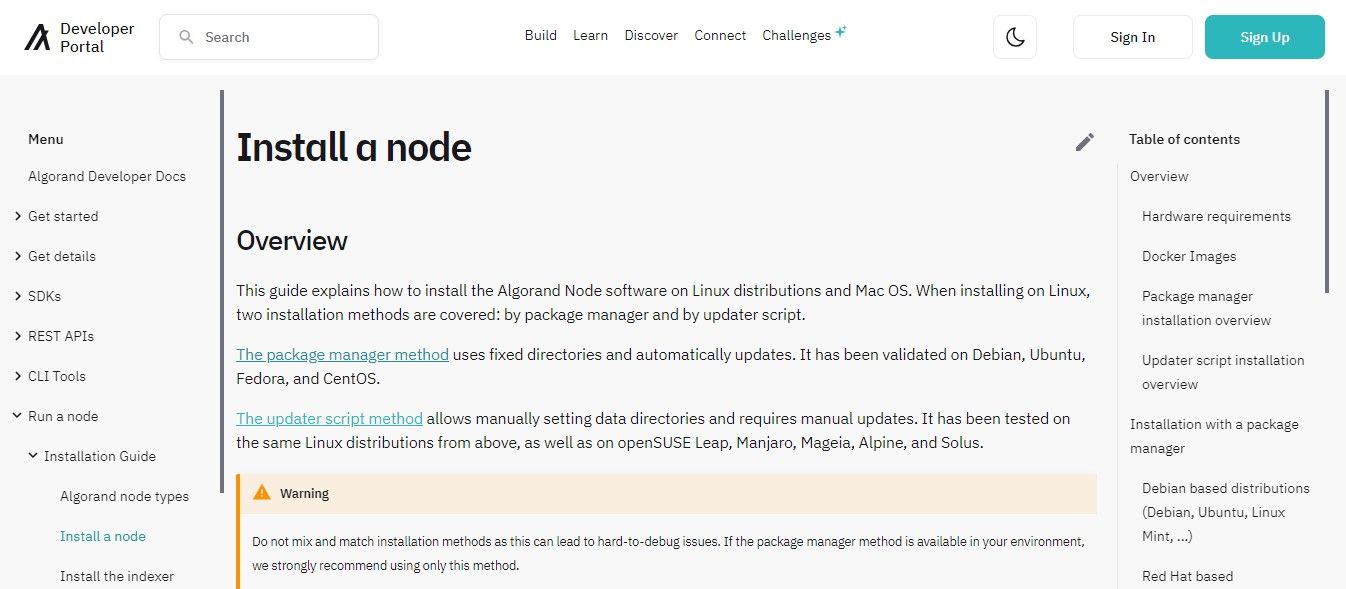
Our guide will follow the Installation guide for Debian on Algorand Developer Portal. You can check the documentation for additional details.
Note: this is a general setup for both non-relay and relay nodes.
Step 1: Installation with a Package Manager
The guide is only for Debian-based distributions like Debian, Ubuntu, Linux Mint. For another OS, you can refer to Algoran Developer Portal.
Open a terminal and run the following commands:
- Open a terminal and run the following commands.
sudo apt-get update
sudo apt-get install -y gnupg2 curl software-properties-common
curl -o - https://releases.algorand.com/key.pub | sudo tee /etc/apt/trusted.gpg.d/algorand.asc
sudo add-apt-repository "deb [arch=amd64] https://releases.algorand.com/deb/ stable main"
sudo apt-get update
# To get both algorand and the devtools: sudo apt-get install -y algorand-devtools # Or, to only install algorand: sudo apt-get install -y algorand algod -v
- Installing the Devtools:
Beginning with the 2.1.5 release, there is now a new package called algorand-devtools that contains the developer tools. The package contains the following binaries:
- carpenter
- catchupsrv
- msgpacktool
- tealcut
- tealdbg
Installing the devtools is simple and no additional entries need to be added for either apt or yum. Simply install the tools as usual via the respective package manager.
- Start Node:
Installs by a package manager automatically start the node. Starting and stopping a node should be done using systemctl commands:
sudo systemctl start algorand
sudo systemctl stop algorand
The status of the node can be checked by running:
goal node status -d /var/lib/algorand
Step 2: Installation with the Updater Script on Linux
Nodes have been verified on various Linux distributions like Ubuntu, CentOS, Fedora, openSUSE Leap, Manjaro, Mageia, Alpine, and Solus.
Follow these steps:
- Create a temporary folder to hold the install package and files:
mkdir ~/node
cd ~/node
- Download the updater script:
curl https://raw.githubusercontent.com/algorand/go-algorand/rel/stable/cmd/updater/update.sh -O
- Ensure that your system knows it's an executable file:
chmod 744 update.sh
- Run the installer from within your node directory:
./update.sh -i -c stable -p ~/node -d ~/node/data -n
Note: The -n option above tells the installer not to auto-start the node. If the installation succeeds, the node will need to be started manually as described later in the guide.
- Installing algod as a systemd Service:
To install algod as a system-wide service, run the script with root privileges:
sudo ./systemd-setup.sh algorand algorand
This will create the service and include helpful information in the configuration.
Step 3: Configure Telemetry
Telemetry provides data to Algorand to improve the software and help identify issues. To enable or disable telemetry, use the following commands:
- Enable Telemetry:
diagcfg telemetry name -n <name>
- Disable Telemetry:
diagcfg telemetry disable
Step 4: Sync Node with Network
When a node starts, it needs to sync with the network. Check the sync status using:
goal node status
- Sync Node Network using Fast Catchup:
Fast Catchup rapidly updates a node using catchpoint snapshots. Follow the provided links to get the most recent catchup point snapshots per network.Use the goal node catchup command to start the process.
- Troubleshooting for Fast Catchup:
Ensure the node is not archival or a relay. Check for software updates and hardware requirements. If fast catchup fails on an archival node, you need to stop the node, remove unnecessary files, and restart.
- Updating Node:
For RPM or Debian packages, updates are automatic. For other installs, use ./update.sh -d ~/node/data to check for and install the latest updates. You can schedule automatic updates using CRON:
crontab -e
That's it! You've just successfully deploy an Algorand node. Check out the Algorand's official channels for further updates from the Algorand team.


