How To Deploy An Arbitrum Node

The sustainable growth of the Arbitrum network depends crucially on the numbers of nodes. Running your own node on Arbitrum has several benefits, such as increased privacy, security, and improved network's heath.
This guide will show you how to set up an Arbitrum node and specs and system requirements for node deployment.
What is an Arbitrum Node?
An Arbitrum node is a machine (computer) connected to the Arbitrum network. The node typically takes care of validating transactions and helps keep the network decentralized.
If you look to interact with the Arbitrum chains without relying on third-party entities, running your own node is the perfect option. You can definitely use node operators if you prefer not to maintain your node. But make sure you choose a trusted entity before doing this.
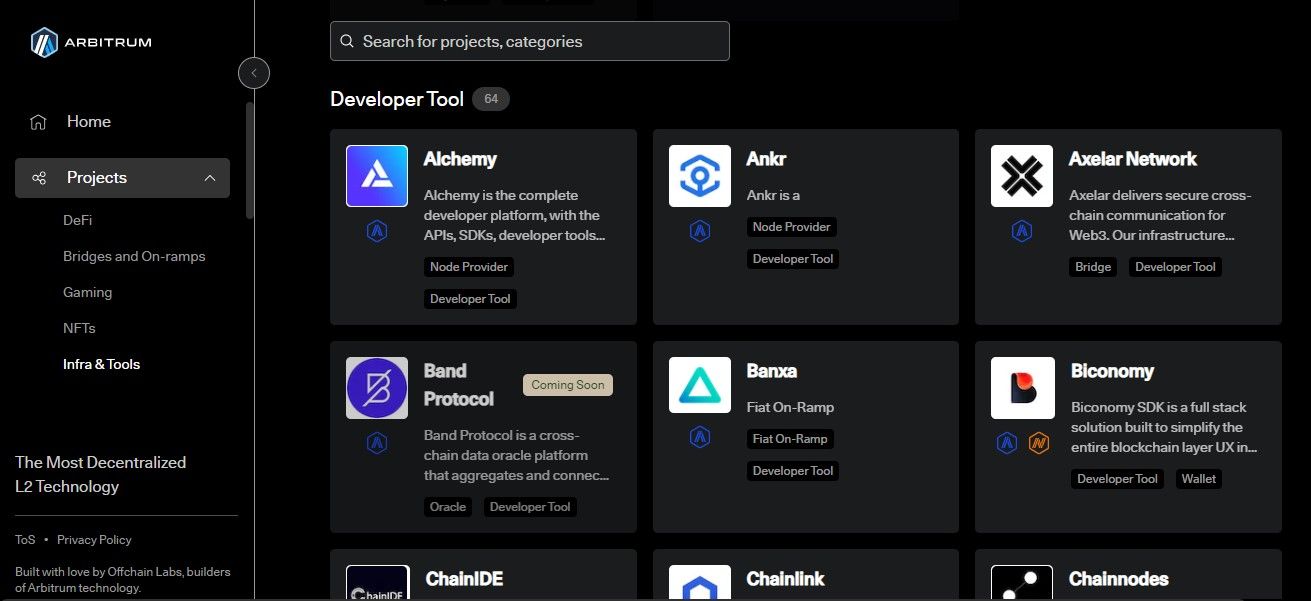
Check out the updated list of Arbitrum Node Providers here.
Interested supporters can run a full node or further become a validator on Arbitrum. Full nodes keep track of the Arbitrum network and provide an API that enables users to interact with the chain.
By default, all nodes are watchtower validators. Other validator approaches are allowlisted. You can find more information about running an Arbitrum validator and validator strategies in Arbitrum Docs. Our guide will focus on running a Nitro full node on Linux.
Arbitrum Node Requirements
You need to set up required hardware and infrastructure before deploying your own node on Arbitrum. Here is your checklist:
- Operating Systems: Debian 11.7 (arm64) or Ubuntu 22.04 (amd64).
- RAM: 8-16 GB.
- CPU: 2-4 core CPU.
- Storage: At least 1.2TB SSD (The more the better given the steady growth of Arbitrum).
How to Set up a Node on Abitrum: Runing Arbitrum Full Node with Docker
The following instructions show you how to set up and run an Abitrum full node with Docker. For the latest updates on the details, we encourage you to regularly review Arbitrum Docs.
Step 1: Install and Configure Docker
for pkg in docker.io docker-doc docker-compose podman-docker containerd runc; do sudo apt-get remove $pkg; done

# Add Docker's official GPG key:
sudo apt-get update
sudo apt-get install ca-certificates curl gnupg
sudo install -m 0755 -d /etc/apt/keyrings
curl -fsSL https://download.docker.com/linux/debian/gpg | sudo gpg --dearmor -o /etc/apt/keyrings/docker.gpg
sudo chmod a+r /etc/apt/keyrings/docker.gpg

# Add the repository to Apt sources:
echo \
  "deb [arch="$(dpkg --print-architecture)" signed-by=/etc/apt/keyrings/docker.gpg] https://download.docker.com/linux/debian \
  "$(. /etc/os-release && echo "$VERSION_CODENAME")" stable" | \
  sudo tee /etc/apt/sources.list.d/docker.list > /dev/null
sudo apt-get update
sudo apt-get install docker-ce docker-ce-cli containerd.io docker-buildx-plugin docker-compose-plugin
sudo service docker start
You can later run a docker with your current user by running the following commands:
sudo groupadd docker
sudo usermod -aG docker $USER
newgrp docker
Step 2: Install Nitro Software
Install Nitro software by running the following commands:
git clone --branch v2.1.1 https://github.com/OffchainLabs/nitro.git
cd nitro
git submodule update --init --recursive --force
Step 3: Build Docker Image
Build a nitro-node Docker image by running the following commands:
docker build . --tag nitro-node
Step 4: Configure Prerequisites
Configure the software dependencies by running the following commands:
apt install git curl build-essential cmake npm golang clang make gotestsum wabt lld-13
npm install --global yarn
ln -s /usr/bin/wasm-ld-13 /usr/local/bin/wasm-ld
Step 5: Configure Node
Install and configure node 16.19 by running the following commands:
curl -o- https://raw.githubusercontent.com/nvm-sh/nvm/v0.39.3/install.sh | bash
source "$HOME/.bashrc"
nvm install 16.19
nvm use 16.19
Install Rust:
curl --proto '=https' --tlsv1.2 -sSf https://sh.rustup.rs | sh
source "$HOME/.cargo/env"
rustup install 1.72.1
rustup default 1.72.1
rustup target add wasm32-unknown-unknown --toolchain 1.72.1
rustup target add wasm32-wasi --toolchain 1.72.1
cargo install cbindgen
Install Bison and Go
sudo apt-get install bison
bash < <(curl -s -S -L https://raw.githubusercontent.com/moovweb/gvm/master/binscripts/gvm-installer)
source "$HOME/.gvm/scripts/gvm"
gvm install go1.20
gvm use go1.20 --default
curl -sSfL https://raw.githubusercontent.com/golangci/golangci-lint/master/install.sh | sh -s -- -b $(go env GOPATH)/bin v1.54.2
Step 6: Complete Building Nitro's Binaries and Run Your Node
make build
Choose node parameters and run your node:
./target/bin/nitro
Congratulations! Now you've successfully set up an run your Arbitrum node.
Want to buy Arbitrum (ARB) tokens? Our guide on how to buy Arbitrum will show you where and how to buy ARB easily.


