How to add Avalanche (AVAX) to MetaMask Wallet

Avalanche is one of the fastest smart contract platforms for decentralized applications launched in 2020 by Ava Labs. It aims to deliver a scalable blockchain solution while maintaining decentralization and security, focusing on lower costs and fast transaction speeds.
In this guide, we provide step-by-step instructions on how you can add Avalanche c chain to MetaMask wallet.
What is Avalanche & MetaMask?
Avalanche is a layer one blockchain that functions as a platform for decentralized applications and custom blockchain networks. It has a high transaction output of up to 6,500 transactions per second while not compromising scalability.
The Avalanche network consists of three individual blockchains: the X-Chain, C-Chain, and P-Chain with each chain having a distinct purpose, which is quite different from the approach Bitcoin and Ethereum uses. Ethereum-based projects like SushiSwap and TrueUSD are integrated with Avalanche.
MetaMask on the other hand is a popular crypto wallet that can get you connected to different blockchains and decentralized platforms including Avalanche.
Using MetaMask to gain entry to Avalanche’s ecosystem provides you with quick transactions and lower fees through its decentralized applications (dapps) and its decentralized finance (DeFi) platform.
We have also written a post explaining how to add Klaytn to your MetaMask wallet.
Getting Started
Step 1. Install MetaMask Extension on Chrome
MetaMask Wallets are available on both IOS and Android devices, as well as browser extensions compatible with all four major browsers. (Chrome, Firefox, Brave, Edge).
For the purpose of this guide, we'll walk you through how you can install MetaMask Chrome Extension on your desktop devices.
You can install MetaMask extension using the official website or you can go directly to Google chrome web store.
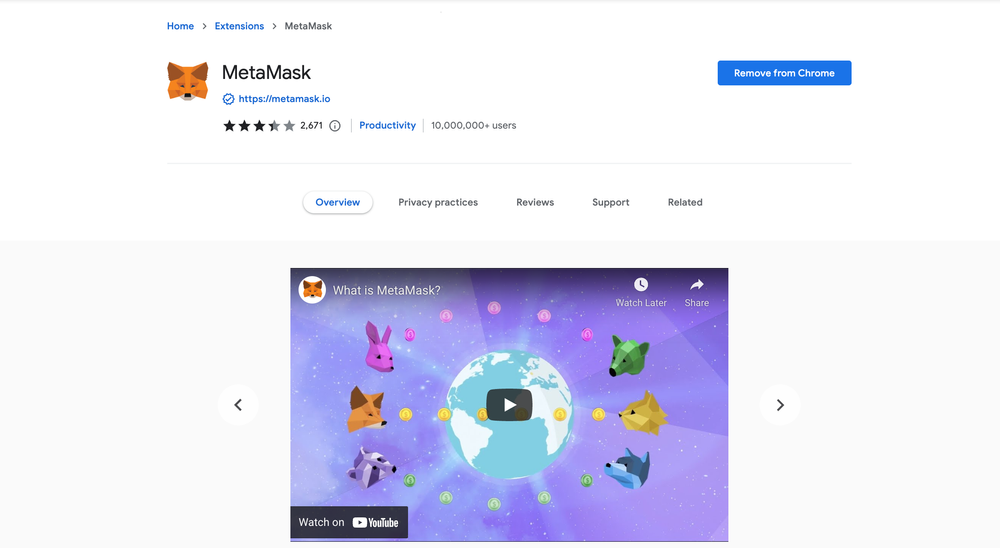
Click the [Add to Chrome] button & you should have your wallet installed.
Once you’ve installed MetaMask, it will appear as an extension and can be easily accessed through “Settings” on Google Chrome where you can pin the wallet extension for ease of access.
Step 2. Login to your MetaMask Wallet.
In order to log in, click on the MetaMask Chrome extension, enter your password, and click on [Unlock].
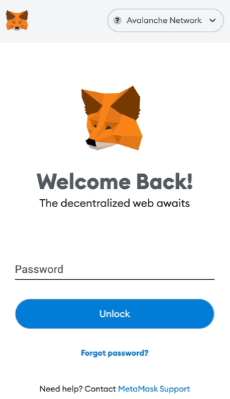
Step 3: Add Avalanche C Chain To MetaMask Wallet
The next step is to set up Avalanche network on your MetaMask wallet after you're logged in. Open the MetaMask wallet on a new browser tab by simply clicking on the MetaMask logo on the top right extension area.
Click the three dots (...) in the top-right and select the “Expand view”.
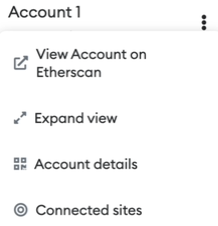
By clicking on “Expand view” you will be able to interact with your MetaMask wallet interface on a larger screen.
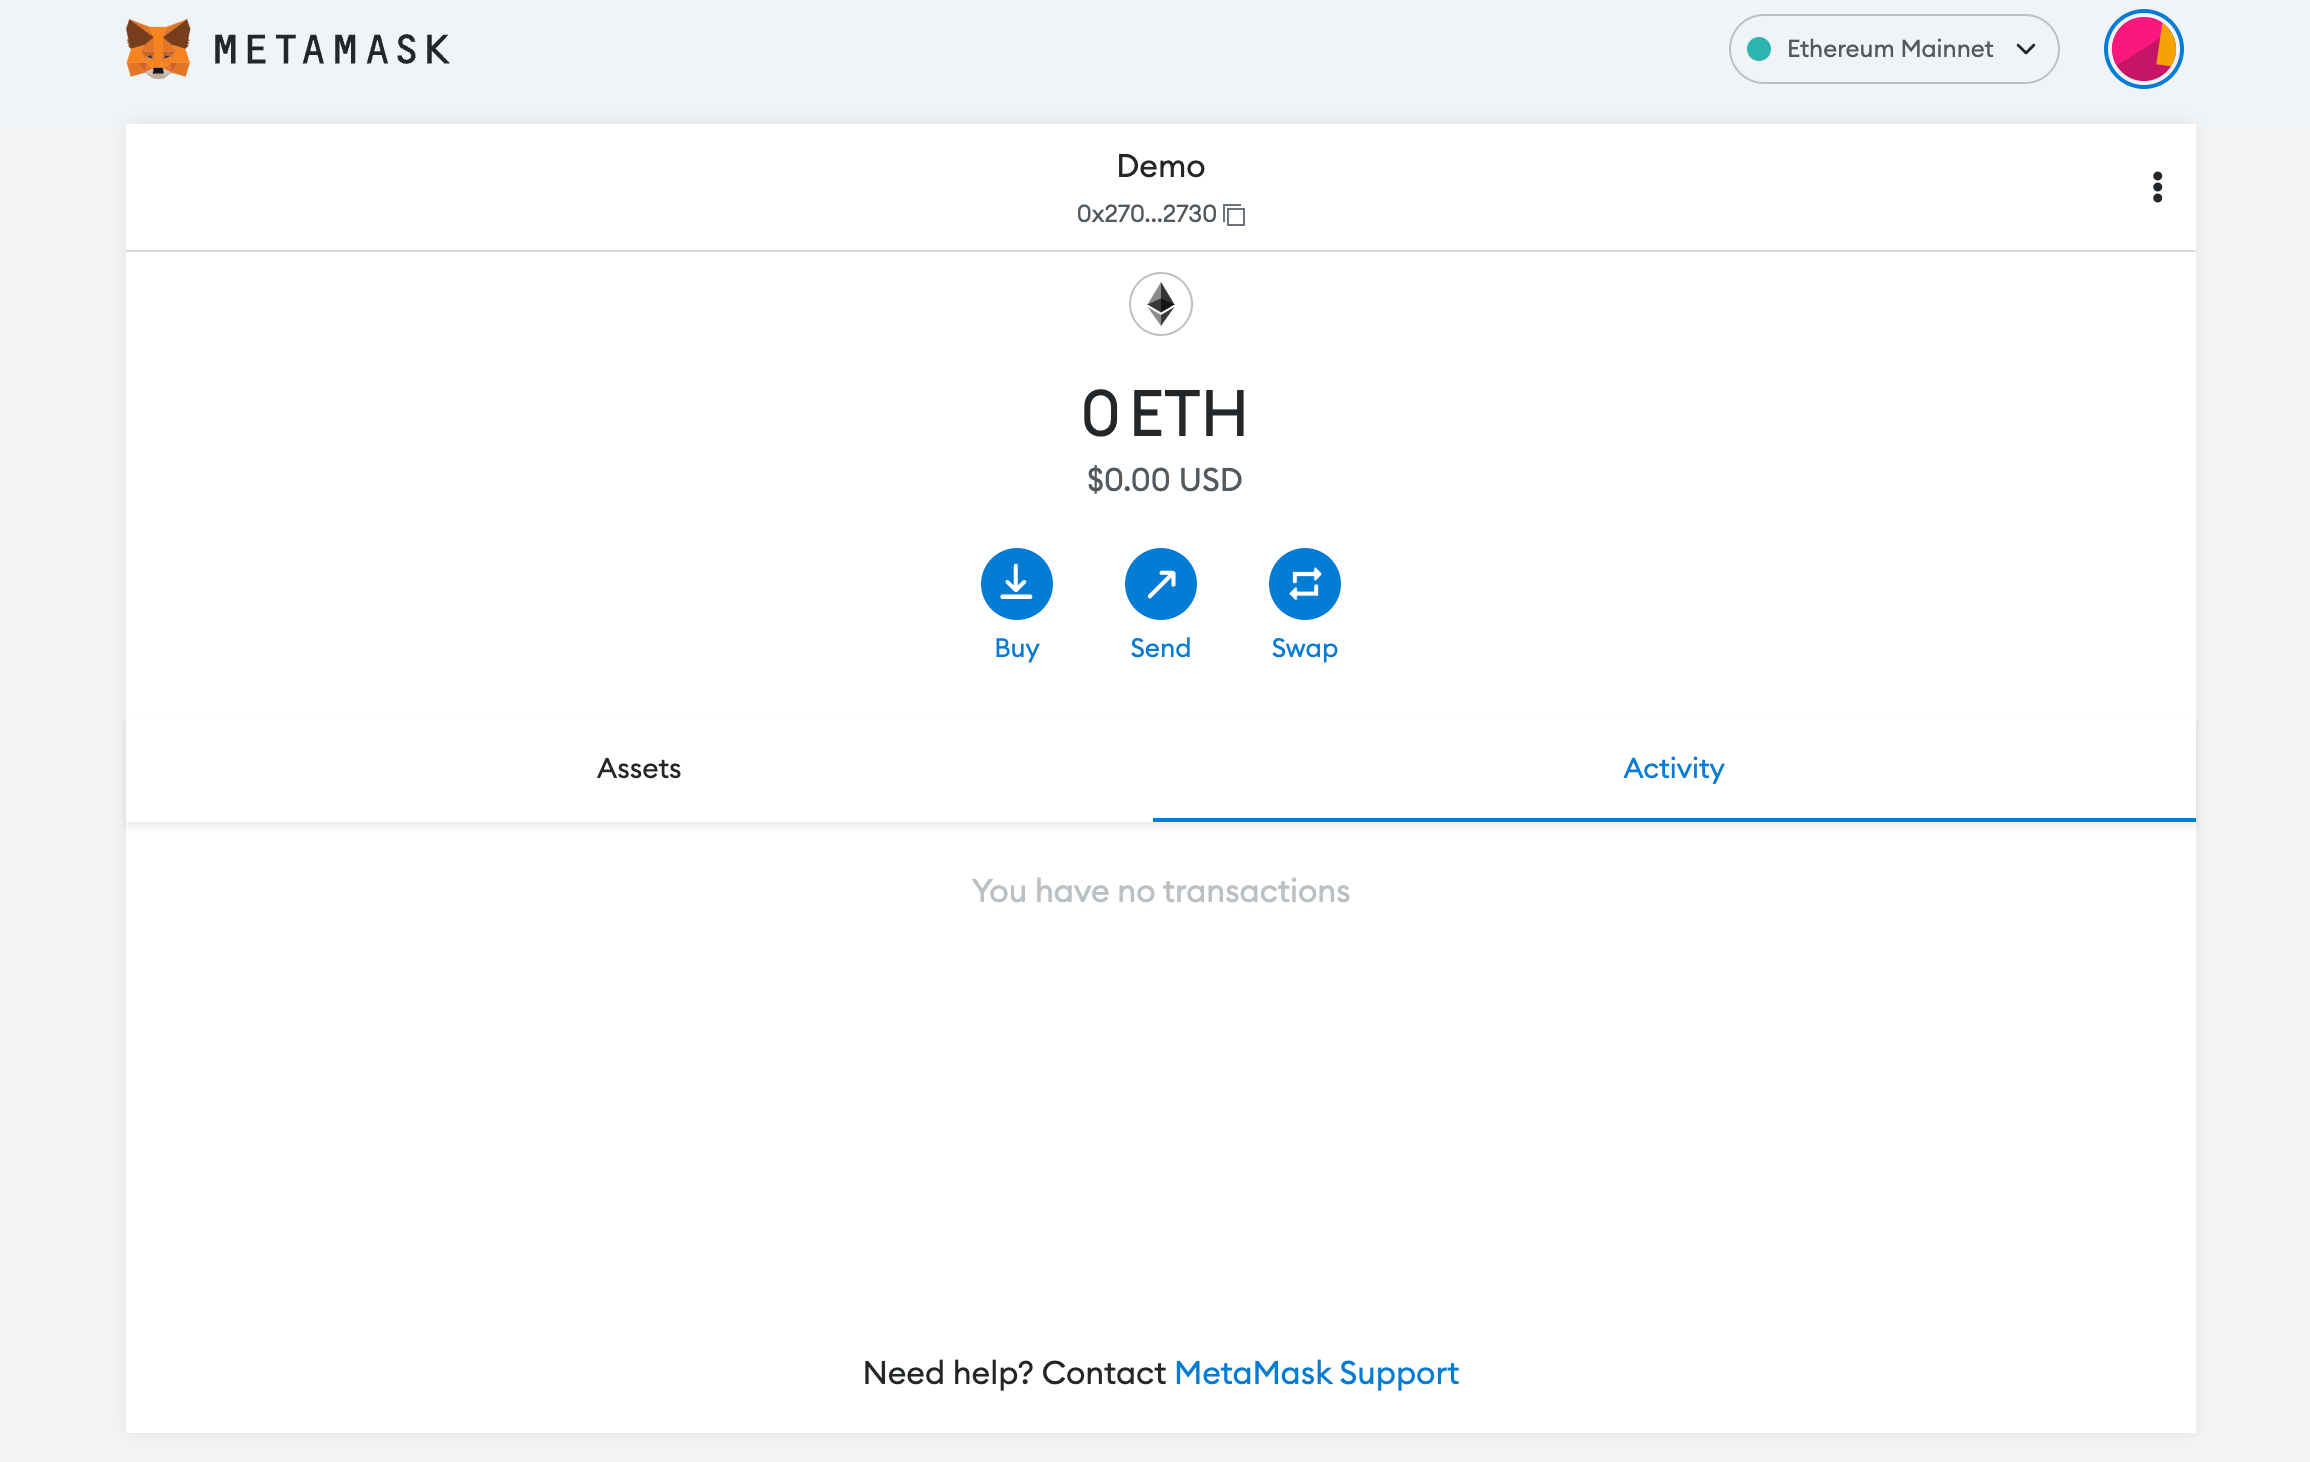
In order to add a new chain network or switch between different blockchain networks, you will need to click on the network tab which by default will show "Ethereum Mainnet" on the top right-hand corner.
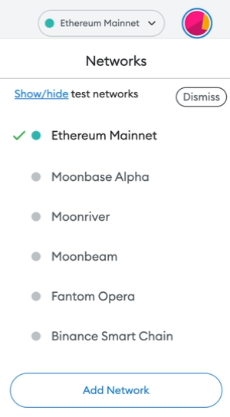
Click on Add Network in order to add Avalanche network to MetaMask Wallet.
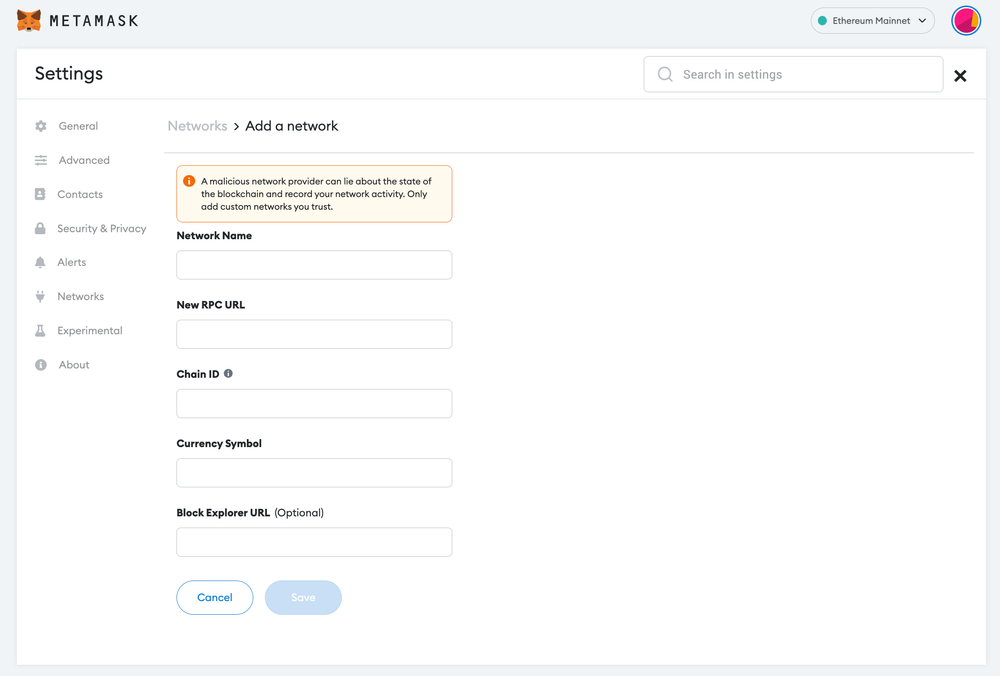
Now you should be able to provide all the required Avalanche network details.
This includes the network name, New RPC URL, Chain ID, Currency Symbol, and block explorer URL. Simply copy and paste the required chain info from the info below.
Avalanche C-chain info:
Network Name: Avalanche Network
New RPC URL: https://api.avax.network/ext/bc/C/rpc
ChainID: 43114
Symbol: AVAX
Explorer: https://snowtrace.io/
Avalanche Fuji Testnet info:
Network Name: Avalanche FUJI C-Chain
New RPC URL: https://api.avax-test.network/ext/bc/C/rpc
ChainID: 43113
Symbol: AVAX
Explorer: https://testnet.snowtrace.io/
After entering all the required details, simply select “Save”. You will be redirected to your wallet where you will see the AVAX network added.
Popular Tags : Avalanche (AVAX) to MetaMask Wallet, Avalanche, Avalanche c chain, Avalanche network, Avalanche’s ecosystem, Avalanche network metamask, Avalanche crypto


