How to Deploy a Polkadot Node on Linux

Are you a DOT enthusiast looking to engage more in its digital landscape? By running your own node, you actively interact with the Polkadot ecosystem, contribute to network security, and participate in governance decisions.
This guide will walk you through setting up a Polkadot node on Linux. You may need a certain level of technical proficiency to follow along - but if you don't, no worries! We'll break down each step into simple, easy-to-understand instructions.
Polkadot Node: An Overview
Polkadot: A Brief Background
The rise in data breaches, privacy concerns, and Internet manipulation has strongly shifted the public interest to decentralization, a concept at the core of Polkadot's design.
Polkadot is a blockchain platform designed to address the limitations of traditional centralized systems. The project provides a secure and scalable infrastructure where individuals have more control over their data and privacy and thus facilitates the accessibility to open financial services.
What is a Polkadot node?
A blockchain grows by adding new blocks to the existing chain. Each block contains a set of transactions called extrinsics; extrinsics represent actions performed on the blockchain.
Validators are important participants in the Polkadot network. When a validator seals a block, it takes the previous state of the blockchain and adds new changes. These changes can be transactions or updates to account balances.
The validator then creates events based on these changes. This process continues for each new block. Once two-thirds of validators agree that a block is valid, it becomes finalized. This means that the block is accepted and permanently added to the blockchain.
Based on this operation, there are three key types of nodes within the Polkadot network:
- Archive nodes: Archive nodes store all past blocks and their states. They are helpful for accessing historical data, such as checking an account's balance at a specific time or understanding how a particular state change occurred. However, archive nodes require a lot of storage space.
- Full nodes: Full nodes store the current state of the blockchain and some past blocks. However, they remove older blocks' states to save storage space. This process is called pruning. By pruning, full nodes require less storage than archive nodes.
- Light nodes: While full nodes allow you to see the current state of the blockchain, send transactions, and validate actions directly, light nodes only store the current state and do not keep past blocks. They need to rely on other nodes to access historical data. Light nodes are useful for devices with limited resources.
Polkadot Node Requirements
Linux cloud server is our top pick for running a node on Polkadot. However, you can choose any VPS provider that suits your preference. Using a recent Debian Linux OS is advisable, although the instructions provided here are based on Ubuntu 22.04 and can be adapted for other platforms.
The system requirements to run a Polkadot full node vary depending on the specific hardware and software you are using. However, some general requirements include:
- A 64-bit operating system (Windows, macOS, or Linux)
- At least 4GB of RAM
- At least 100GB of storage space
- A fast internet connection
You will need more resources to run a relay chain node. The minimum requirements for a relay chain node are:
- 8GB of RAM
- 200GB of storage space
- A 1Gbps internet connection
How to Set Up a Polkadot Full Node on Linux
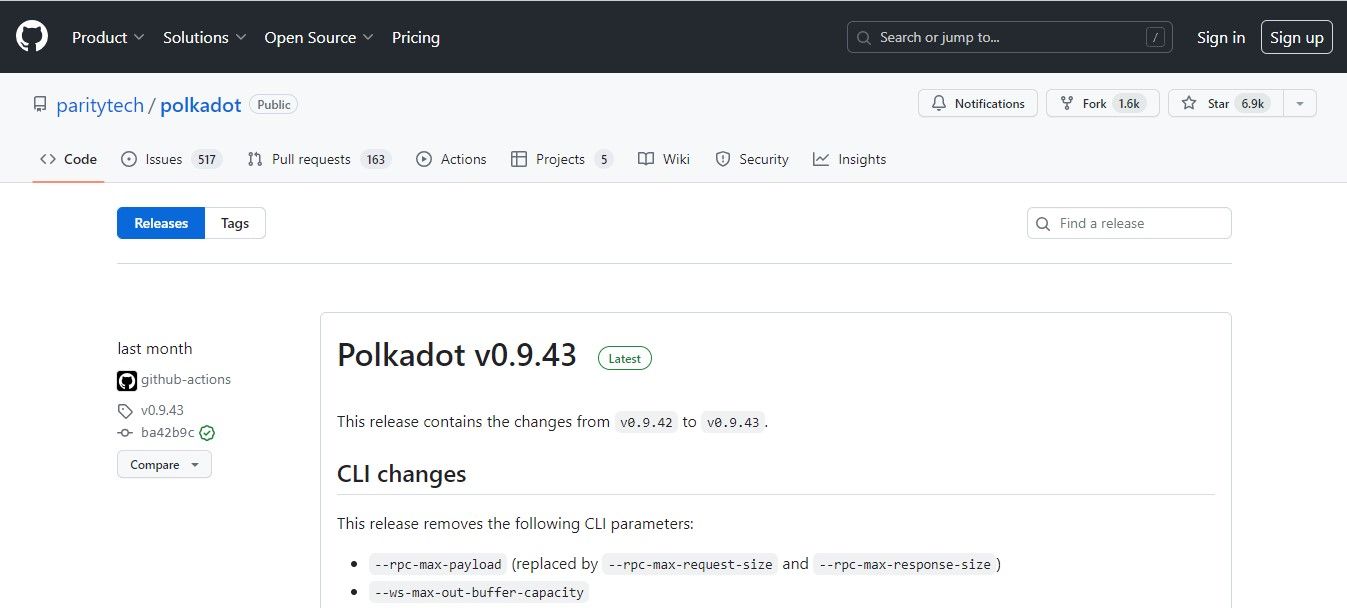
- Download the latest Polkadot binary within Ubuntu by running the following command. Replace VERSION with the tag of the latest version from the last step (e.g., v0.9.43):
curl -sL https://github.com/paritytech/polkadot/releases/download/*VERSION*/polkadot -o polkadot
- Check the latest Polkadot binary on the GitHub release.
2. Make the downloaded file executable by running the following command:
sudo chmod +x polkadot
3. Run the Polkadot binary with your desired node name by executing the following command:
./target/release/polkadot --name "Your Node's Name"
- Check your node on Telemetry
4. Get Substrate:
Note: We recommend that you use a virtual machine if your operating system is Windows.
Run cargo --version to check the installation.
λ cargo --versioncargo 1.41.0 (626f0f40e 2019-12-03)5. Clone and Build:
- Clone the
paritytech/polkadotrepository by running the following command:
git clone https://github.com/paritytech/polkadot polkadot
cd polkadot
./scripts/init.sh
cargo build --release- Example:
git clone https://github.com/paritytech/polkadot polkadot
cd polkadot
git checkout tags/v0.9.43
./scripts/init.sh
cargo build --release
6. Run:
- After building, the Polkadot binary will be located in the
target/releasefolder. Run Polkadot with your desired node name using the following command:
./target/release/polkadot --name "Your Node's Name"To determine which flags you can use when running the node, use the --help flag. For example, if you want to connect to your node remotely, you may need to use --ws-external and --rpc-cors all.
Please note that the syncing process may take some time, depending on your system's capacity. Congratulations, you're now syncing with Polkadot!
If you want to run an archive node to support the full state, add the --pruning archive flag to the command:
./target/release/polkadot --name "My node's name" --pruning archive
For faster synchronization speed, you can use the --wasm-execution Compiled flag. However, keep in mind that this requires more CPU and RAM resources and should be turned off after the node syncs.
Alternatively, you can use Docker to run your node in a container. Please note that this method requires familiarity with Docker and assumes you have completed the other setup instructions. Use the following command:
docker run -p 9944:9944 -p 9615:9615 parity/polkadot:v0.9.13 --name "calling_home_from_a_docker_container" --rpc-external --ws-external --prometheus-externalPlease note that the release and information are only relevant at the time of writing. Check out Polkadot Wiki for the latest updates.
How about staking Polkadot to yield profits? Learn in just a few steps with our DOT staking guide.


