How to add Flare Mainnet to MetaMask

Flare is a layer 1 blockchain built for decentralized connectivity with other chains and real-world data sources. It enables decentralized applications to acquire and use information from other blockchains.
This guide will walk you through the steps needed to add the Flare network to your MetaMask Wallet.
What is Flare network & MetaMask?
Flare is a distributed network that can be used to create two-way bridges between networks. It also integrates the Ethereum Virtual Machine (EVM) to support blockchains without smart contract functionalities.
Spark Token is the native token of Flare. It prevents spam attacks, is used as collateral within DApps, provides data to an on-chain oracle, and to participate in protocol governance.
MetaMask on the other hand is one of the most widely-used Wallets. You can send, receive, and manage tokens and cryptocurrencies from Ethereum, Binance Smart Chain, Flare network and other blockchains. With MetaMask, you can store NFTs, crypto art, and other crypto collectibles. Its browser extension is compatible with Chrome, Firefox, Edge, and Brave.
Step 1: Install MetaMask Extension on Chrome
This step is only for those who don't have MetaMask installed in their browser. For the purpose of this guide, we are using Chrome browser as an example but the principle steps are same when installing MetaMask in other browsers.
You can install the MetaMask using the official website or go directly to google chrome web store
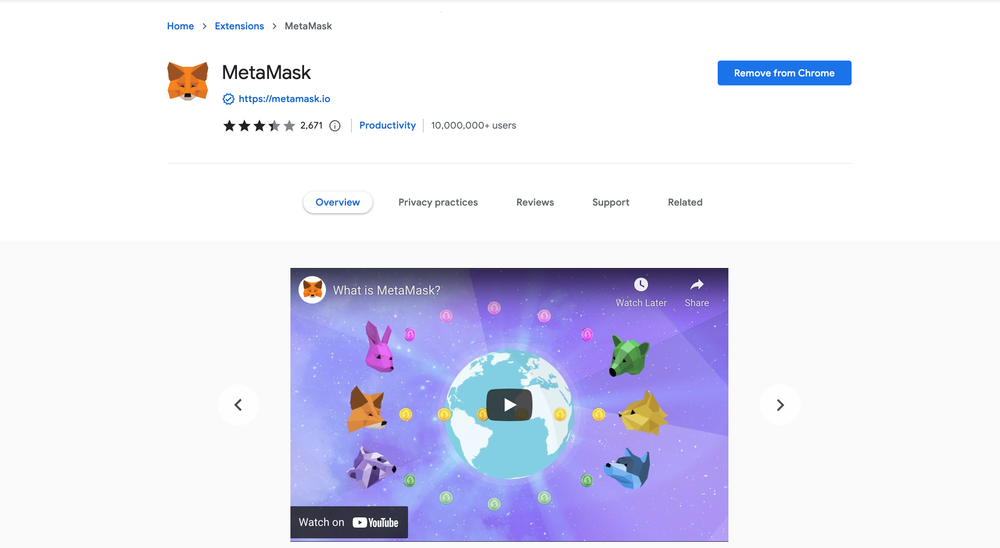
Check the number of downloads to make ensure the legitimate MetaMask is being installed as there are many fake MetaMask wallets.
Click the Add to Chrome button & you should have your wallet installed.
Once you’ve installed, MetaMask will appear as an extension and can easily be accessed through “Settings” on Google Chrome where you can pin the wallet extension for ease of access.
Step 2: Login to your MetaMask Wallet
If you are new to MetaMask, create a wallet after installing MetaMask which will require you to choose a password and store a recovery phrase (Make sure to store your recovery phrase in a safe place).
If you already have a wallet created then log in using your MetaMask password.
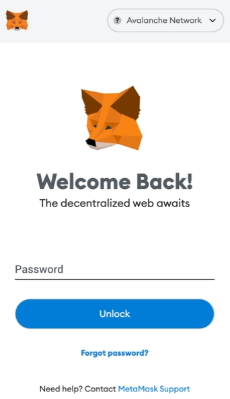
In order to log in, click on the MetaMask Chrome extension, enter your password, and click on “Unlock”.
Step 3: Add Flare network on MetaMask Wallet
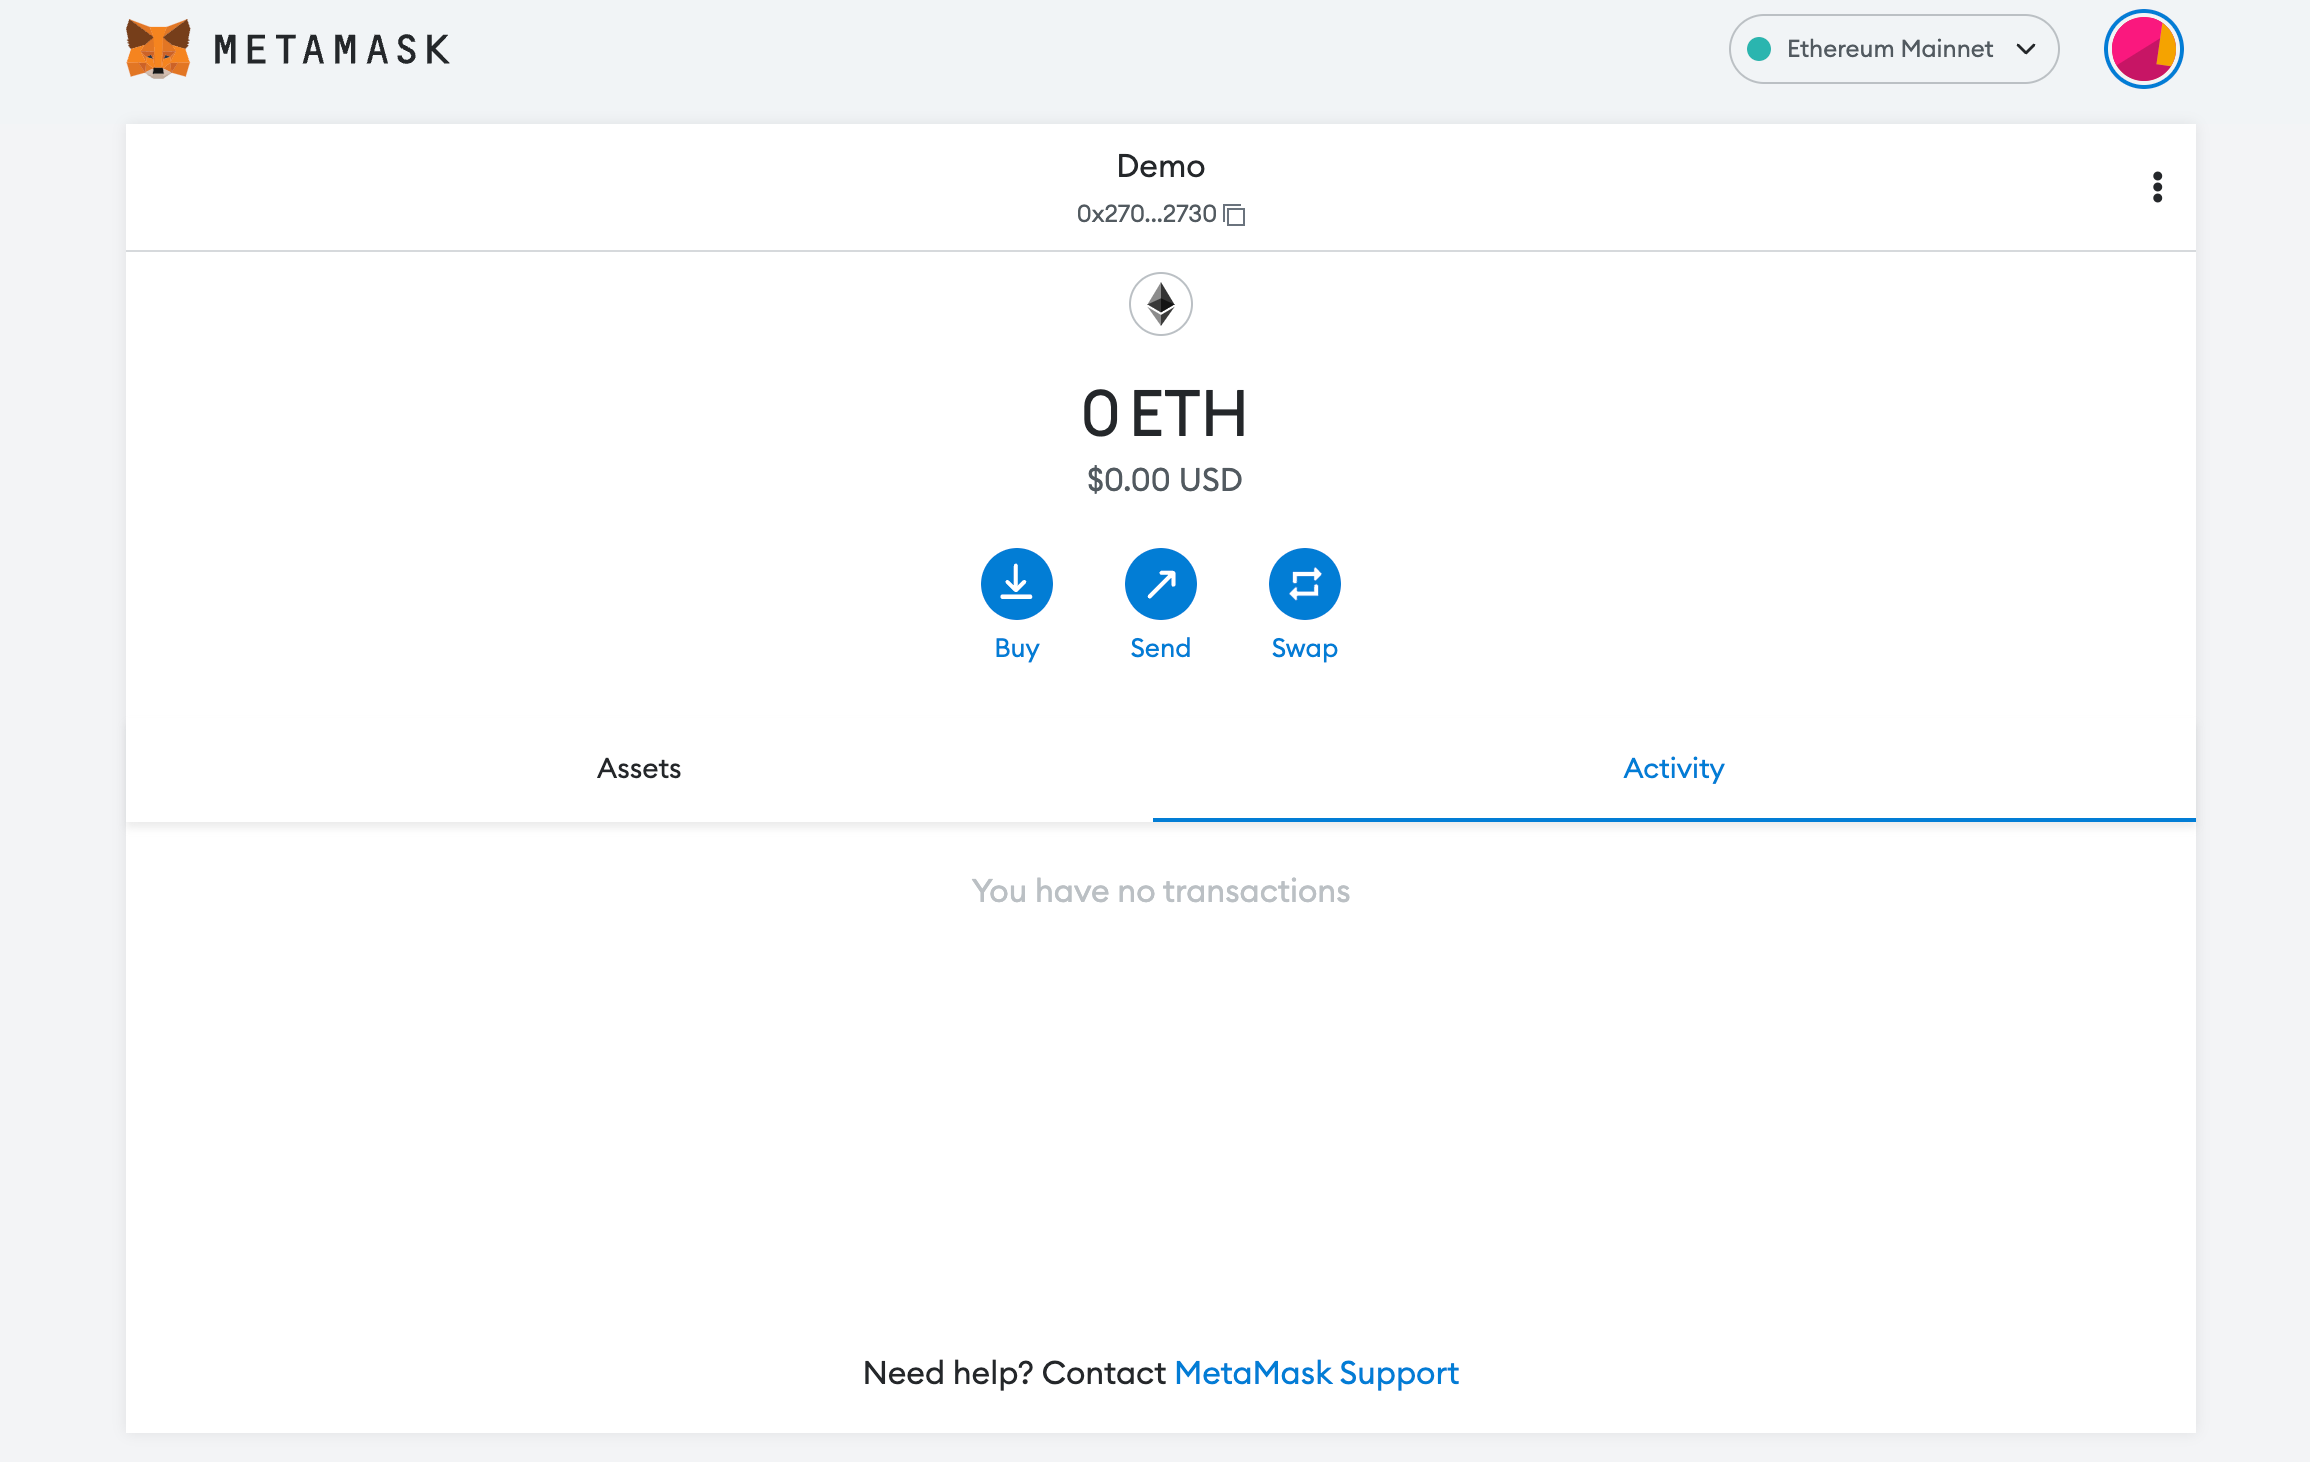
Our final step is to add Flare on MetaMask wallet after you're logged in. Open the MetaMask wallet on a new browser tab by simply clicking on the MetaMask logo on the top right extension area.
Click the three dots in the top-right and select the “Expand view”.
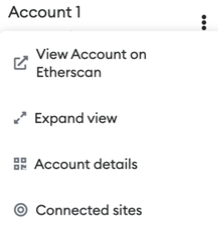
By clicking on “Expand view” you will be able to interact with your MetaMask wallet interface on a larger screen.
In order to add a new chain network or switch between different blockchain networks, you'll need to click on the network tab which by default will show "Ethereum Mainnet" on the top right-hand corner.
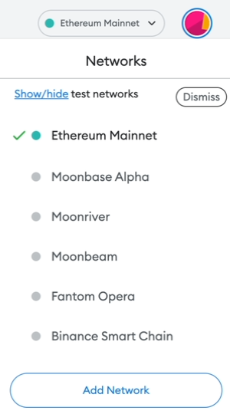
Click on Add Network in order to add Flare to MetaMask Wallet.
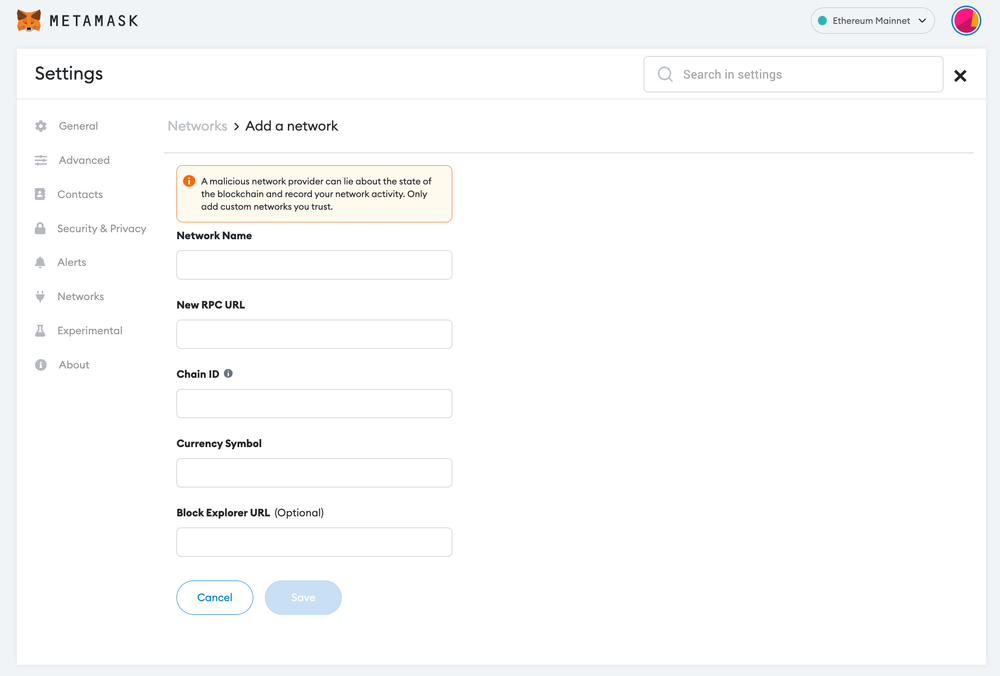
Now you should be able to provide all the required Flare mainnet details.
This includes the network name, new RPC URL, chain ID, currency symbol, and block explorer URL. Simply copy and paste the required chain info from below.
FLR mainnet info:
Network Name: Flare Mainnet
RPC URL: https://songbird.towolabs.com/rpc
ChainID: 14
Symbol: FLR
Block Explorer: https://flare-explorer.flare.network/
After entering all the required details, simply select “Save”. You will be redirected to your wallet where you will see the Flare network added.
Add more chain to MetaMask
Popular Tags : Flare Mainnet to MetaMask, Flare Mainnet, Flare network, Flare network token, Flare network crypto, Flare network price


