How to Deploy a Node on Conflux Network

Not all crypto businesses can make it through the ups and downs of the market. Conflux is among the survivors that have adapted to market movements and stayed resilient over the past few years.
If you are interested in supporting the Conflux network and helping to ensure its long-term success, running a node on the Conflux network is the best choice. Today's article will show you how to deploy a Conflux node on Linux and the setup requirements before getting started.
What is a Node on Conflux Network?
The Conflux network has three key types of nodes: archive nodes, full nodes, and light nodes. Your decision of which type of node to run likely depends on your goals and resources when interacting with the network.
That said, before proceeding further, it's vital to break down the differences between the three node types:
- An archive node stores the complete history of the Conflux blockchain (all transactions and blocks). Due to this extensive historical data, it demands a significant amount of storage space and bandwidth. While it can participate in consensus, it is not mandatory, making it useful for research and analysis.
- Full node stores the current state of the Conflux blockchain. Compared to an archive node, it requires less storage space and bandwidth. Full nodes are essential participants in consensus. Users interact with the Conflux network through full nodes, enabling tasks like sending and receiving transactions.
- Light node does not store the entire history of the Conflux blockchain. Instead, it connects to a full node to obtain the current state of the blockchain. Light nodes are not obligated to participate in consensus. They are ideal for interacting with the Conflux network when resources are limited, offering efficiency and convenience.

Conflux Node Requirements
Archivenode:
- CPU: 4 Cores
- RAM: 16GB
- Hard Disk: 1.5TB
Fullnode:
- CPU: 4 Cores
- RAM: 16GB
- Hard Disk: 1TB
- Mining: Requires a discrete graphics card
General:
- Set the maximum number of open files to 10000 (Linux default is 1024, which is insufficient)
How to Deploy a Node on Conflux Network
Step 1: Get Conflux Client
Conflux-rust serves as the authorized Rust implementation of the Conflux protocol. This powerful node establishes connections with other nodes on the Conflux network and offers an RPC interface, enabling users to effortlessly query and engage with the blockchain.
To download Conflux-rust released packages, you can follow these steps:
- Go to the Conflux-rust GitHub releases page.
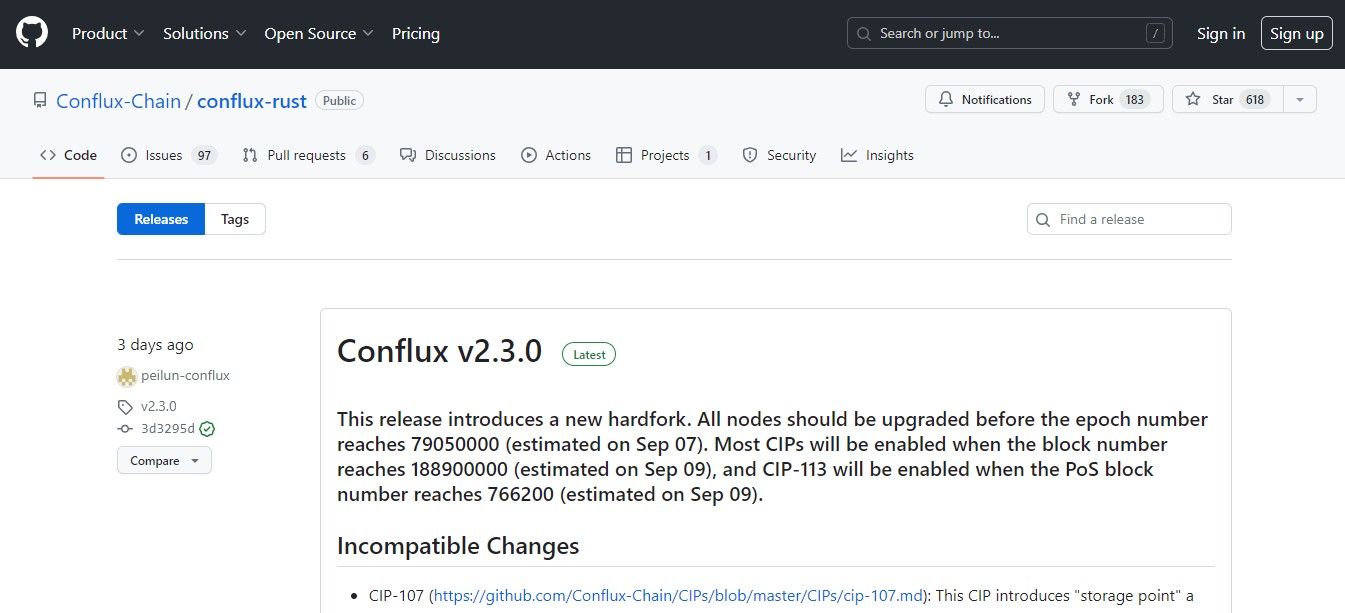
- Scroll down to check the list of available binaries. The current versions are compatible with Linux, Windows, and macOS.
- Download the binary that suits your needs. The binaries are named conflux-v<version>-<platform>. For example, the binary for the latest release of Linux is named
conflux_linux_v2.3.0.zipfile. - Unzip the file, and you will find a run folder containing node programs, configuration files, and startup scripts.
To quickly initiate a node, Conflux offers an official Docker image of conflux-rust. Simply follow these two steps: download the image and run the container.
Step 2: Compile from source
Install Build Dependencies - Linux
To build Conflux, you will need to have Rust 1.68.0, clang, and sqlite installed. We suggest using rustup to install Rust if you haven't already. In case you don't have rustup or clang, follow these steps to install them.
- Linux
$ curl --proto '=https' --tlsv1.2 -sSf https://sh.rustup.rs | sh $ rustup install 1.68.0 To install other dependencies, such as clang, cmake (version >= 3.12) and sqlite (version >= 3.8.3), follow these steps:
- Ubuntu 18.04:
 # The latest cmake version on Ubuntu 18.04 is 3.10, so you'll need to install it from the Kitware repository.
$ wget -O - https://apt.kitware.com/keys/kitware-archive-latest.asc 2>/dev/null | gpg --dearmor - | sudo tee /usr/share/keyrings/kitware-archive-keyring.gpg >/dev/null
$ echo 'deb [signed-by=/usr/share/keyrings/kitware-archive-keyring.gpg] https://apt.kitware.com/ubuntu/ bionic main' | sudo tee /etc/apt/sources.list.d/kitware.list >/dev/null
$ sudo apt-get update
$ sudo apt-get install clang libsqlite3-dev pkg-config libssl-dev cmake - CentOS 7 / RHEL:
 $ sudo yum install epel-release
$ sudo yum install clang gcc gcc-c++ openssl-devel cmake3 wget
# This may fail if you have installed cmake with version 2.8.
# You can choose to uninstall cmake first.
$ sudo ln -s /usr/bin/cmake3 /usr/bin/cmake
# The official sqlite version on CentOS 7 is 3.7.17, so we need to install the latest version from the source code.
# The source code have be downloaded from https://www.sqlite.org/download.html
$ wget https://www.sqlite.org/2020/sqlite-autoconf-3320100.tar.gz
$ tar xfvz sqlite-autoconf-3320100.tar.gz
$ cd sqlite-autoconf-3320100
$ ./configure
$ make
$ sudo make install
Build from Source Code
Once you have installed the dependencies mentioned above, you can proceed to clone our repository and begin building the executable binary.
 # download Conflux code
$ git clone https://github.com/Conflux-Chain/conflux-rust
$ cd conflux-rust
# Check latest release version at https://github.com/Conflux-Chain/conflux-rust/releases
$ git checkout v2.x.x
# build in release mode
$ cargo build --release
Keep in mind that if you encounter errors while compiling a crate, it is usually due to an outdated version of Rust or the need to recompile some of your crates. If you are using the latest stable version of Rust, try cleaning the repository, as it will likely resolve the issue.
$ cargo clean && cargo update Step 3: Run a node
Prior to executing a node, ensure that you raise the limit on the number of open file descriptors permitted for every process.
$ ulimit -n 10000 To manually initiate Conflux, adjust the default configuration file run/hydra.toml as follows:
- Assign your public IP as the
public_addressand keep the port at 32323 by default. - Ensure that your account address is set as the
mining_authorfor receiving mining rewards. - In case you wish to utilize other nodes for bootstrapping your new node, edit
bootnodesaccordingly.
Note: On Linux and Mac systems, it might be necessary to increase the default max open file limit by executing ulimit -n 10000 in the command line window prior to proceeding. Afterward, execute these commands:
 $ cd run
  $ ../target/release/conflux --config hydra.toml
Your archive node will start running, and the synchronization of the Conflux mainnet also commences.
After you complete deploying your node, you can move to the node configuration step and run tests to ensure the system functions smoothly. Check out these sections on the Conflux Developer page.


